Roof Repairs
An important decision made with peace of mind.
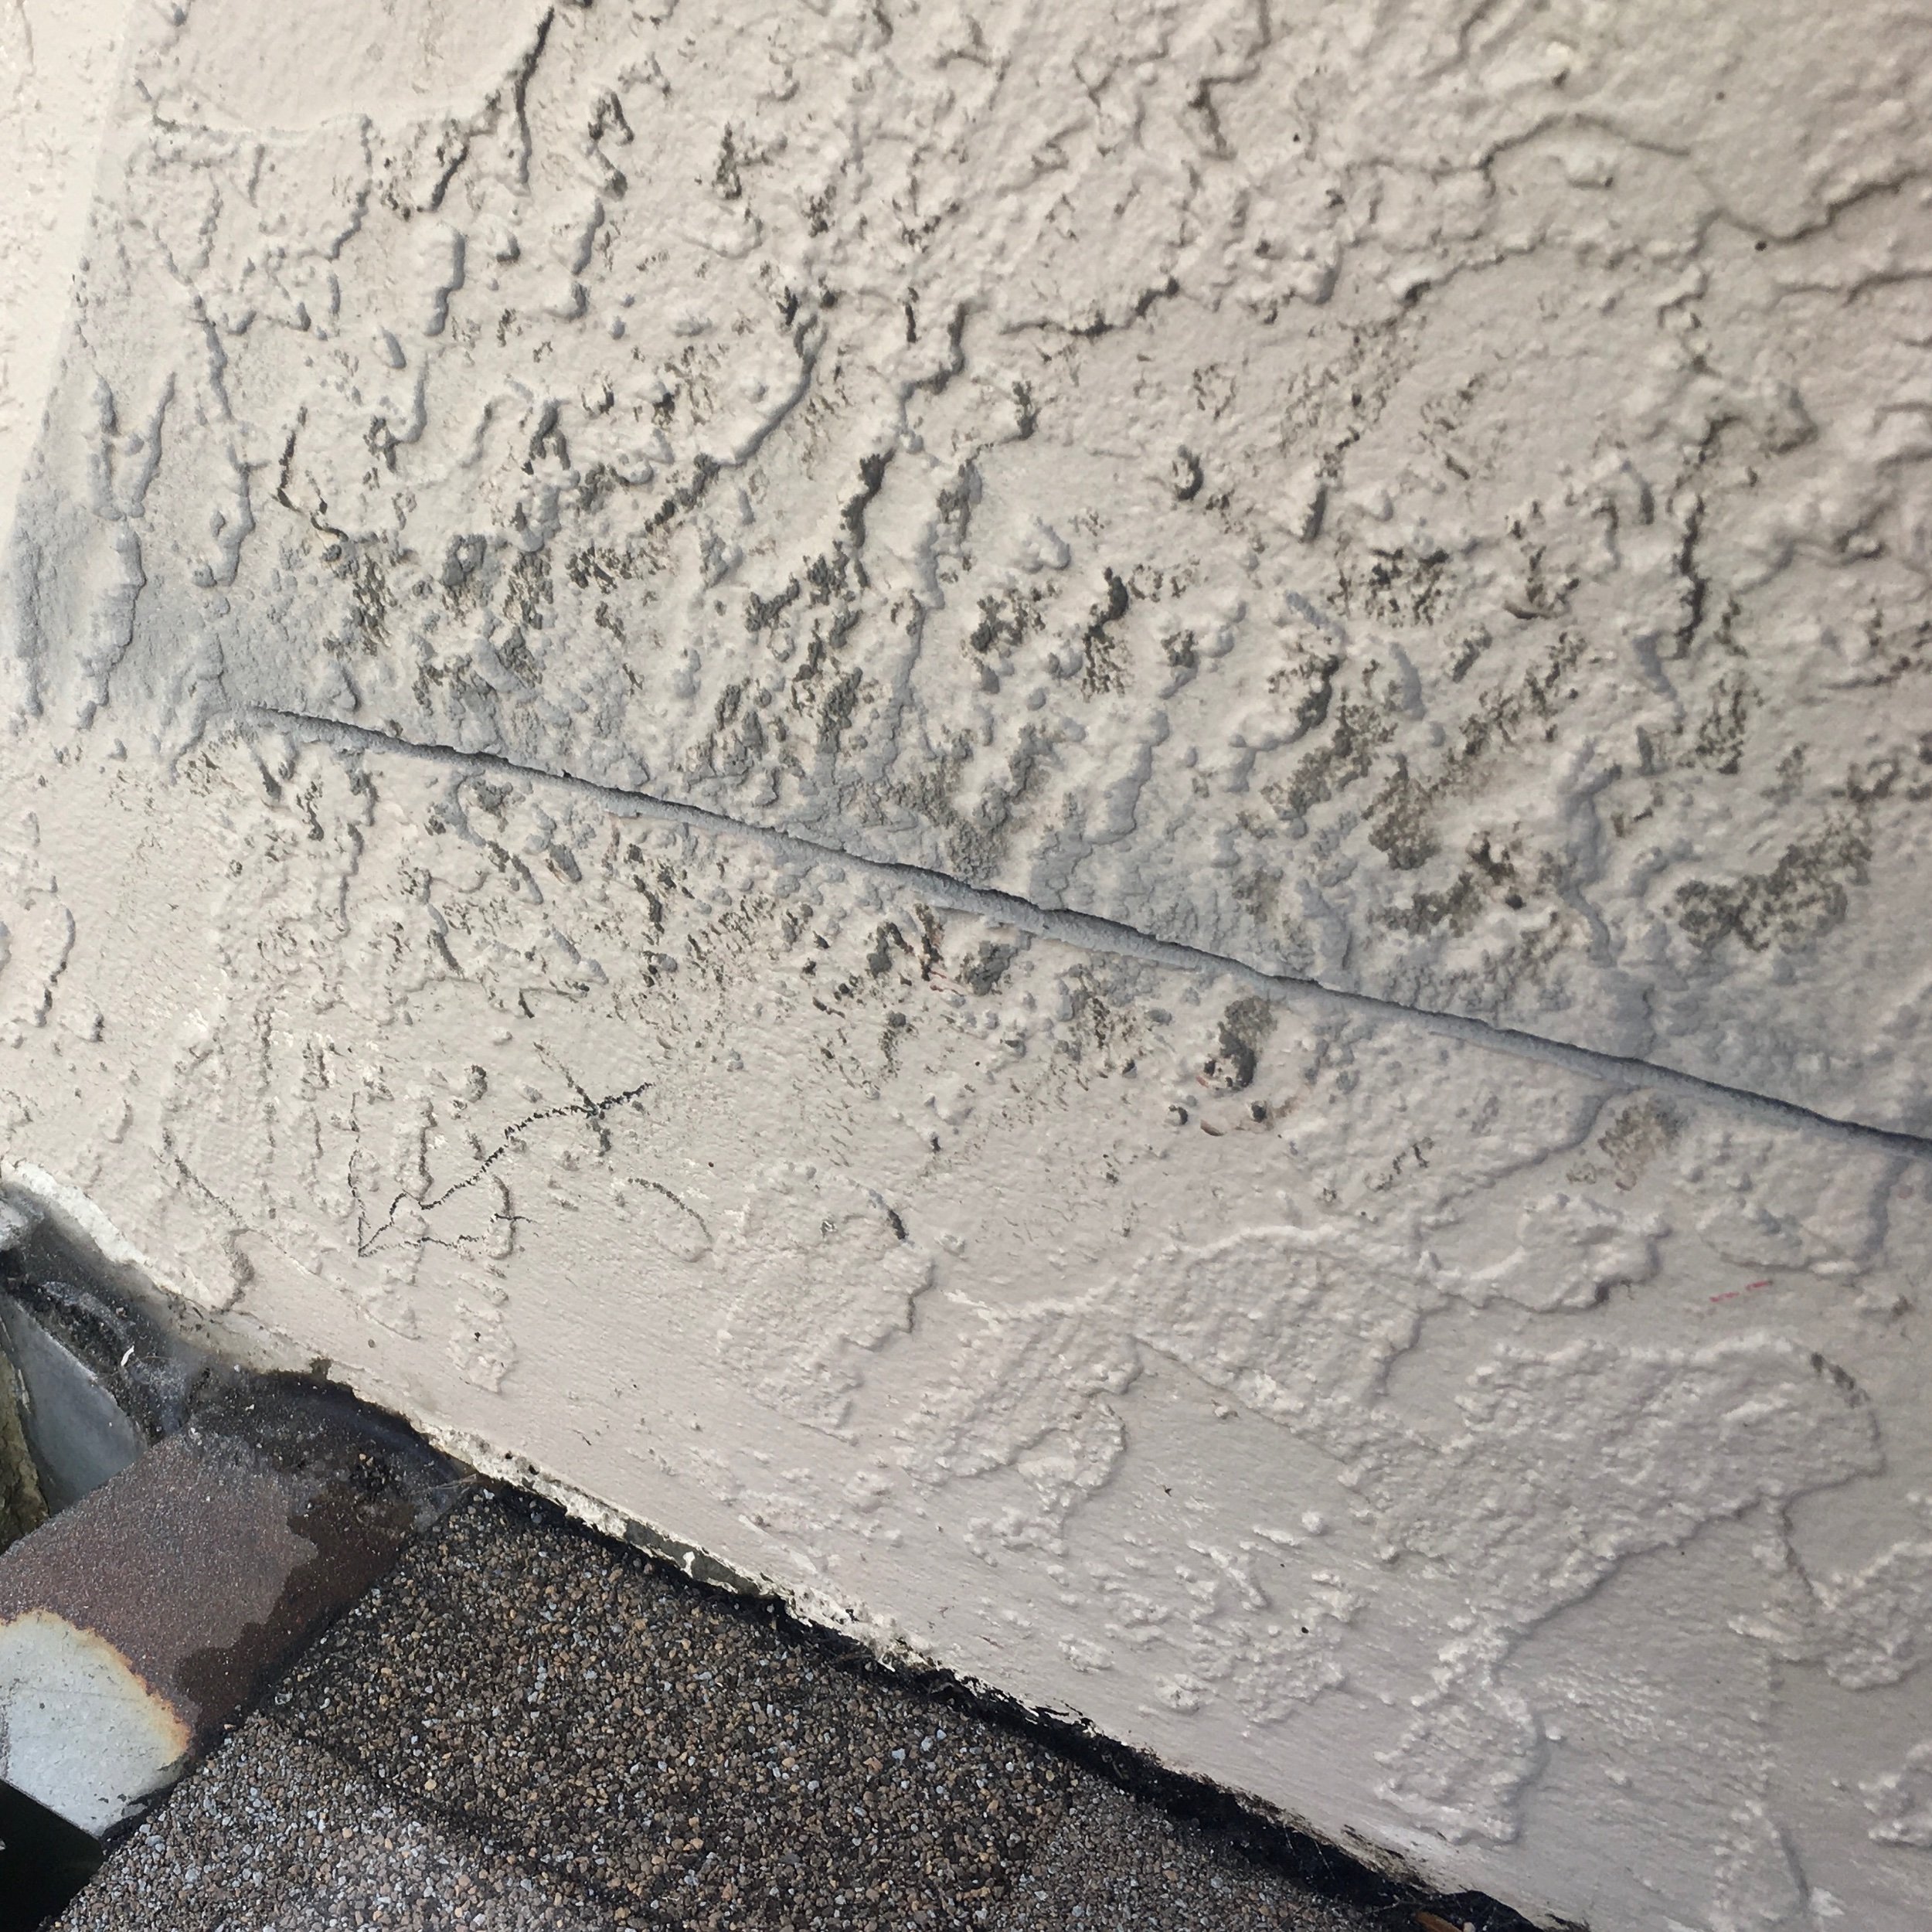
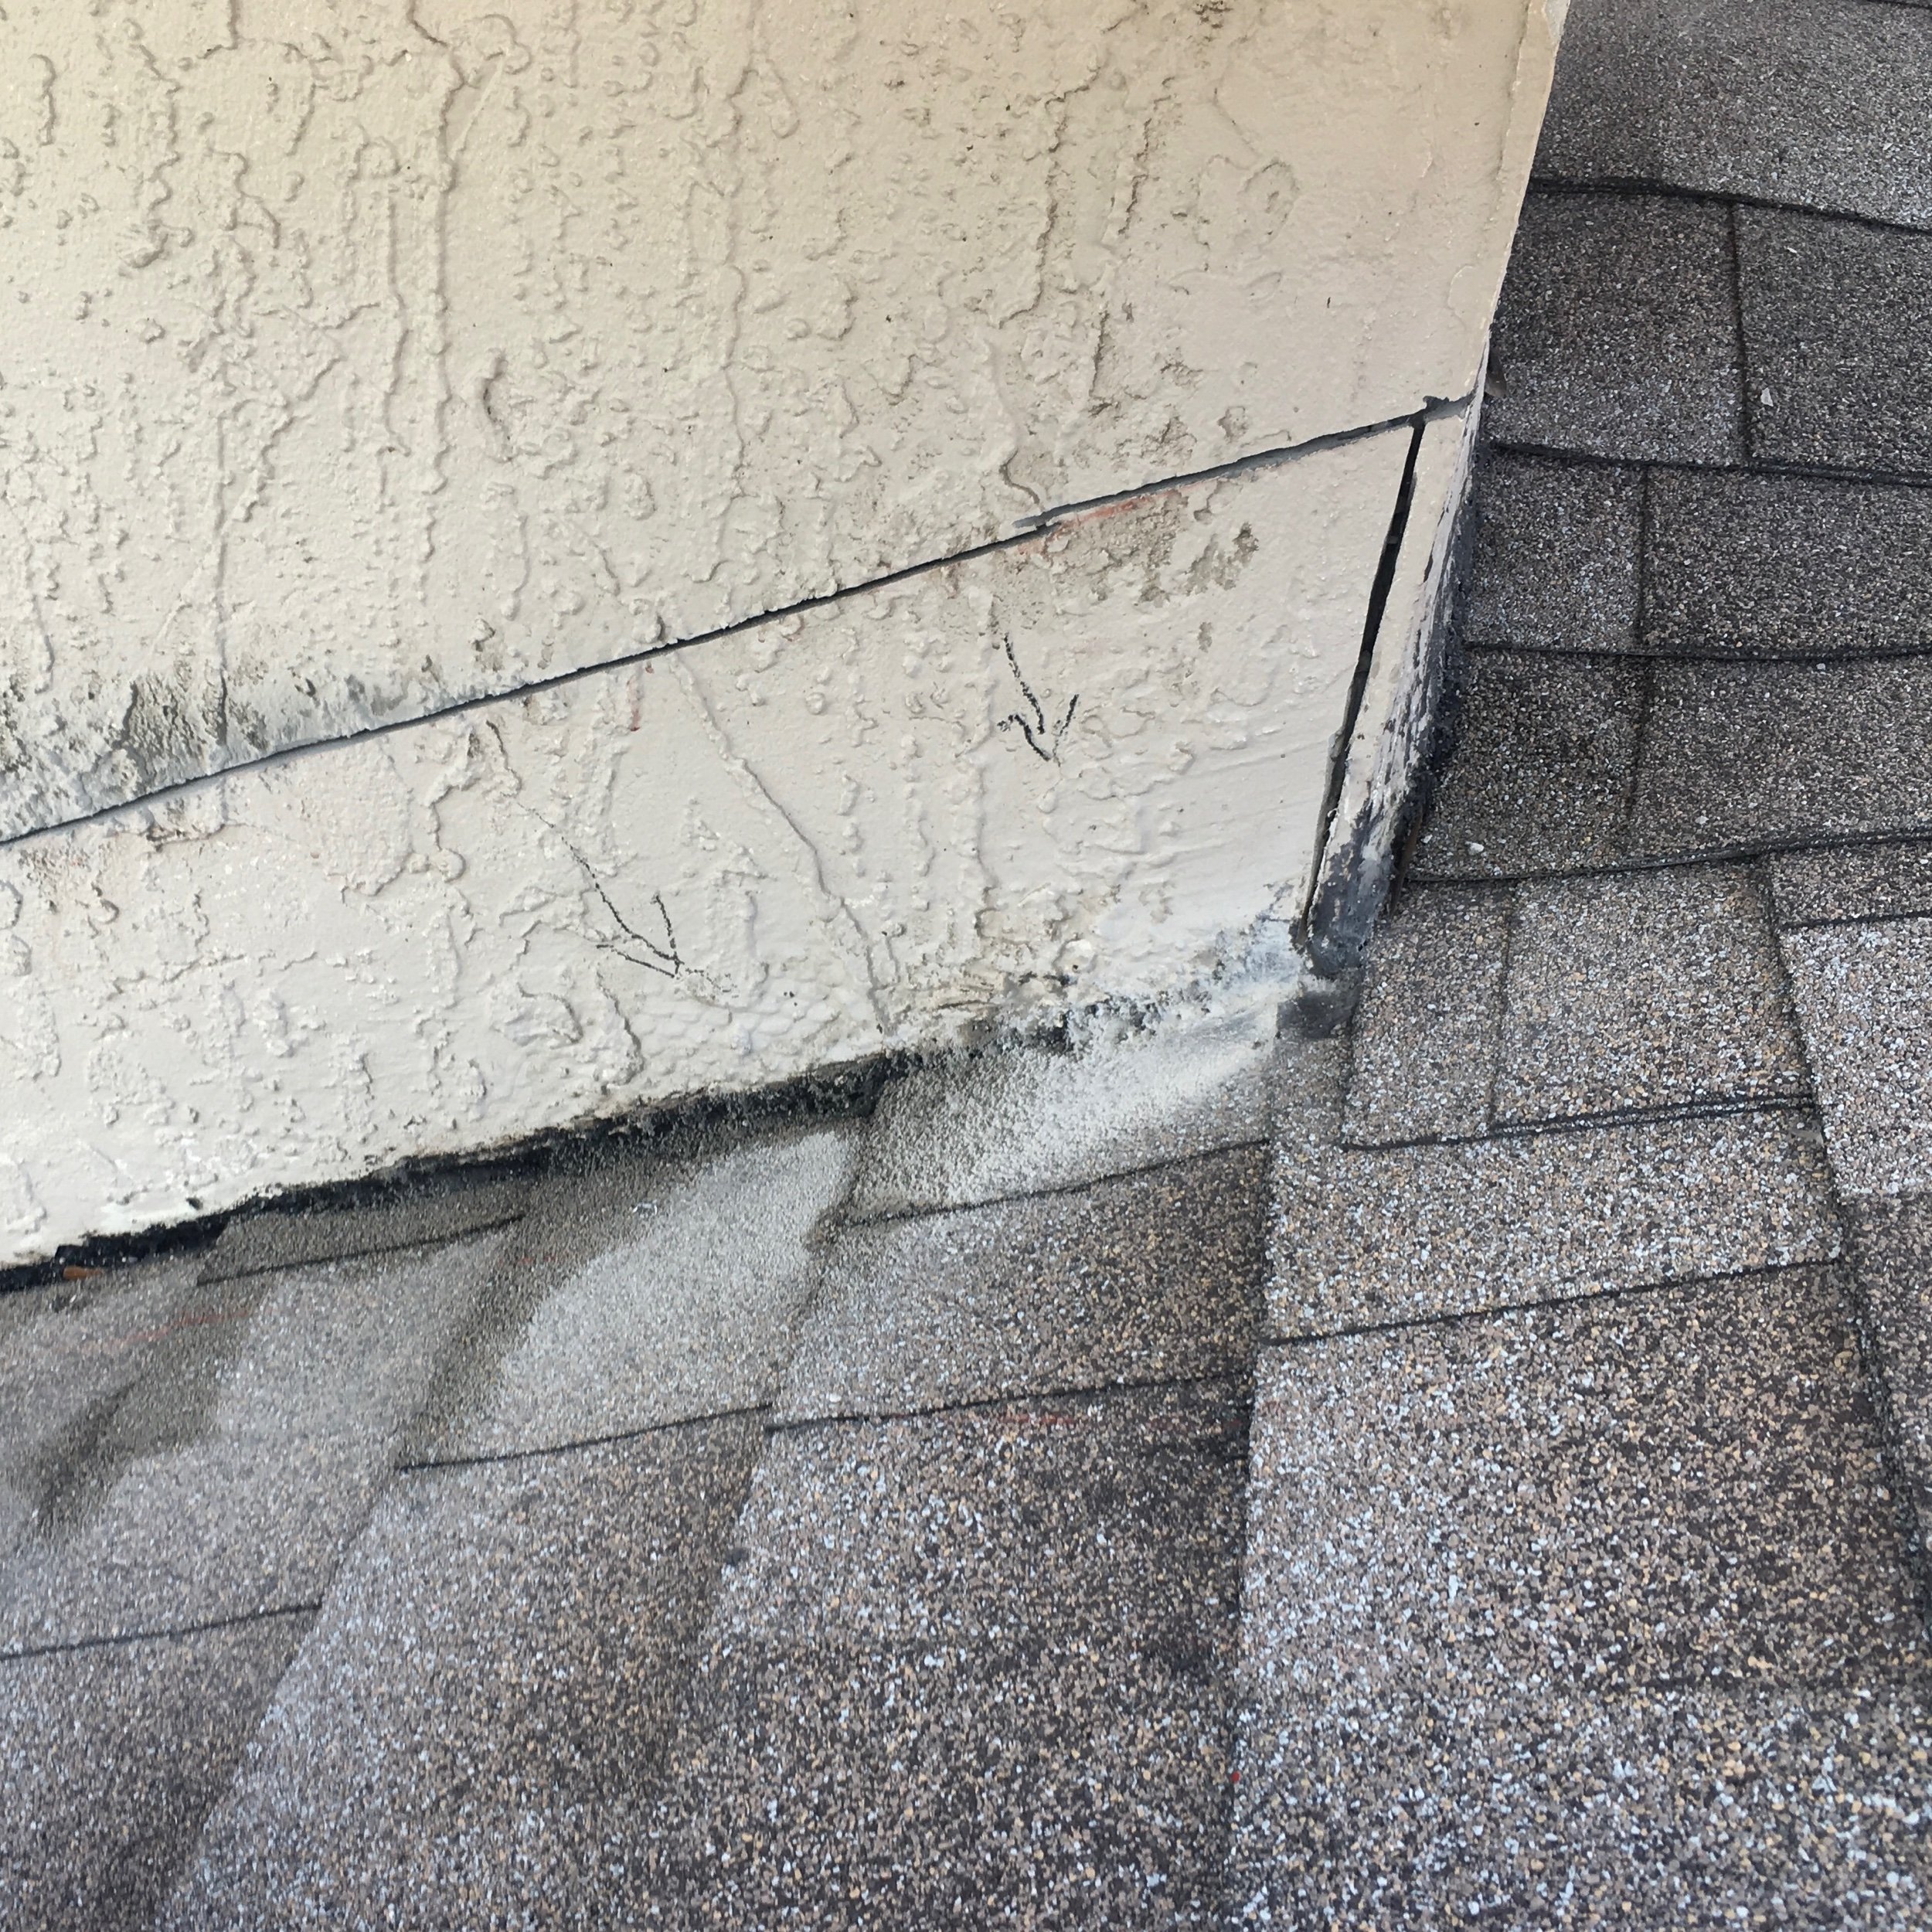
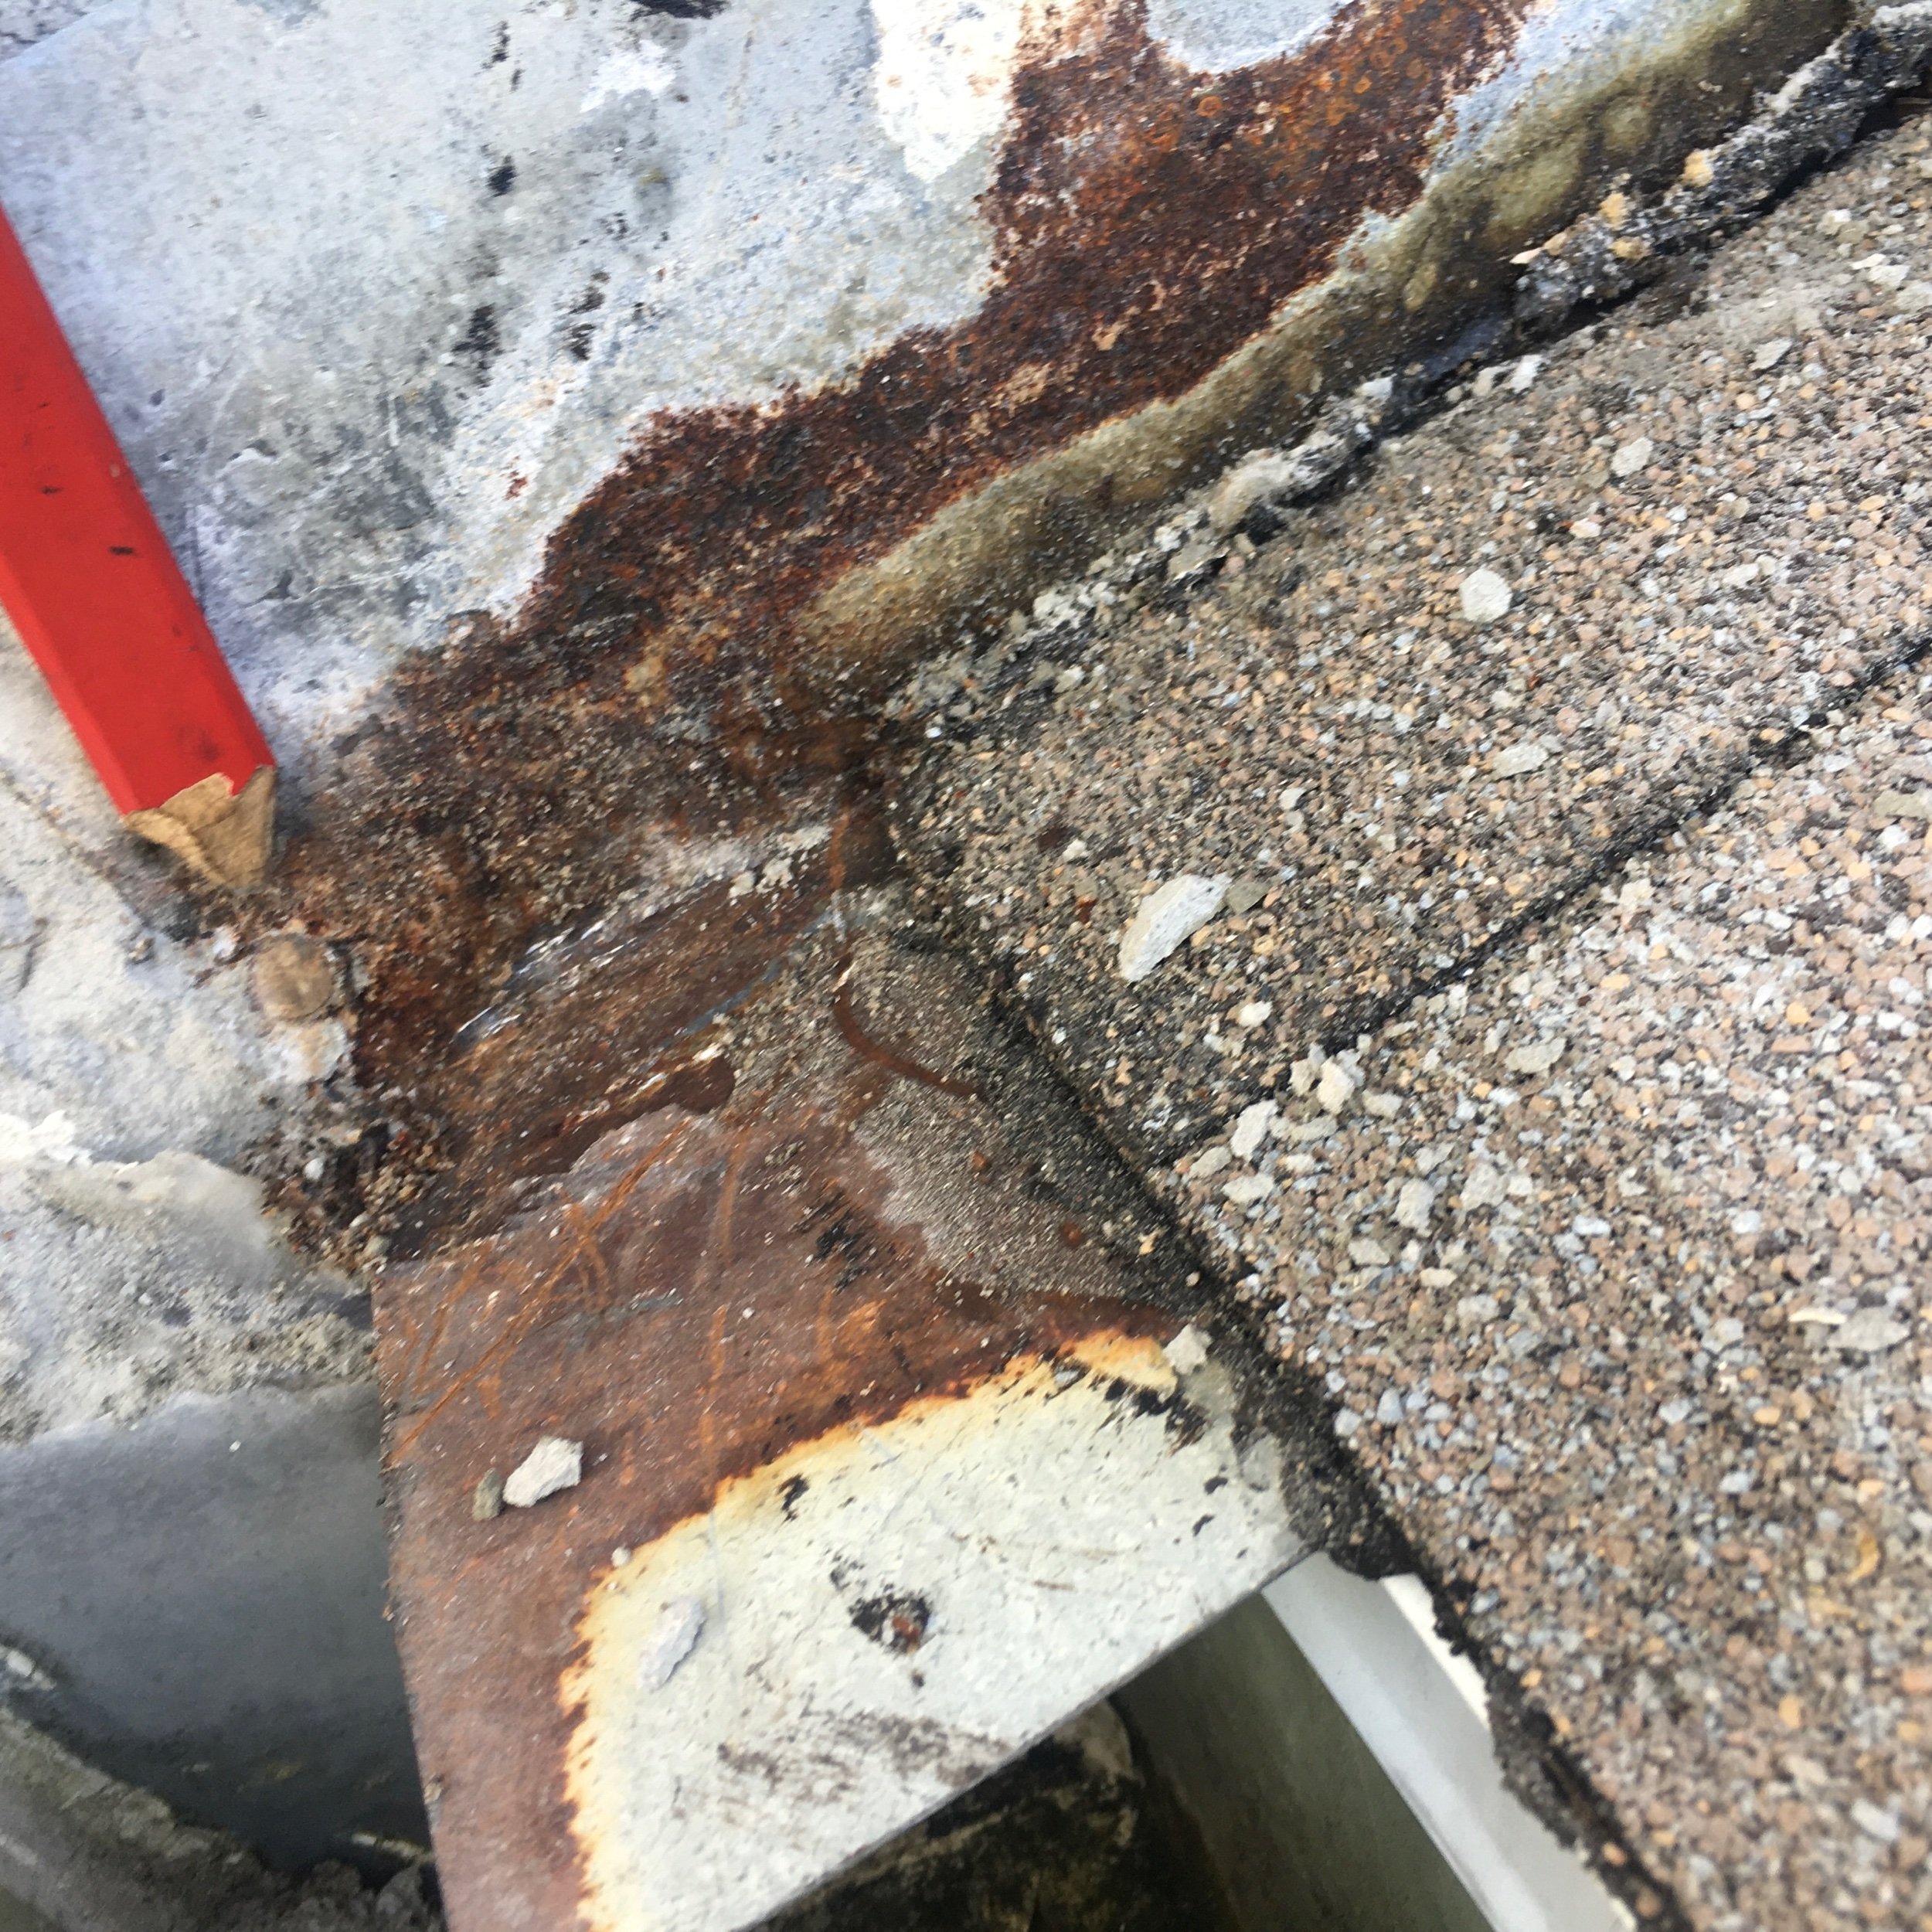
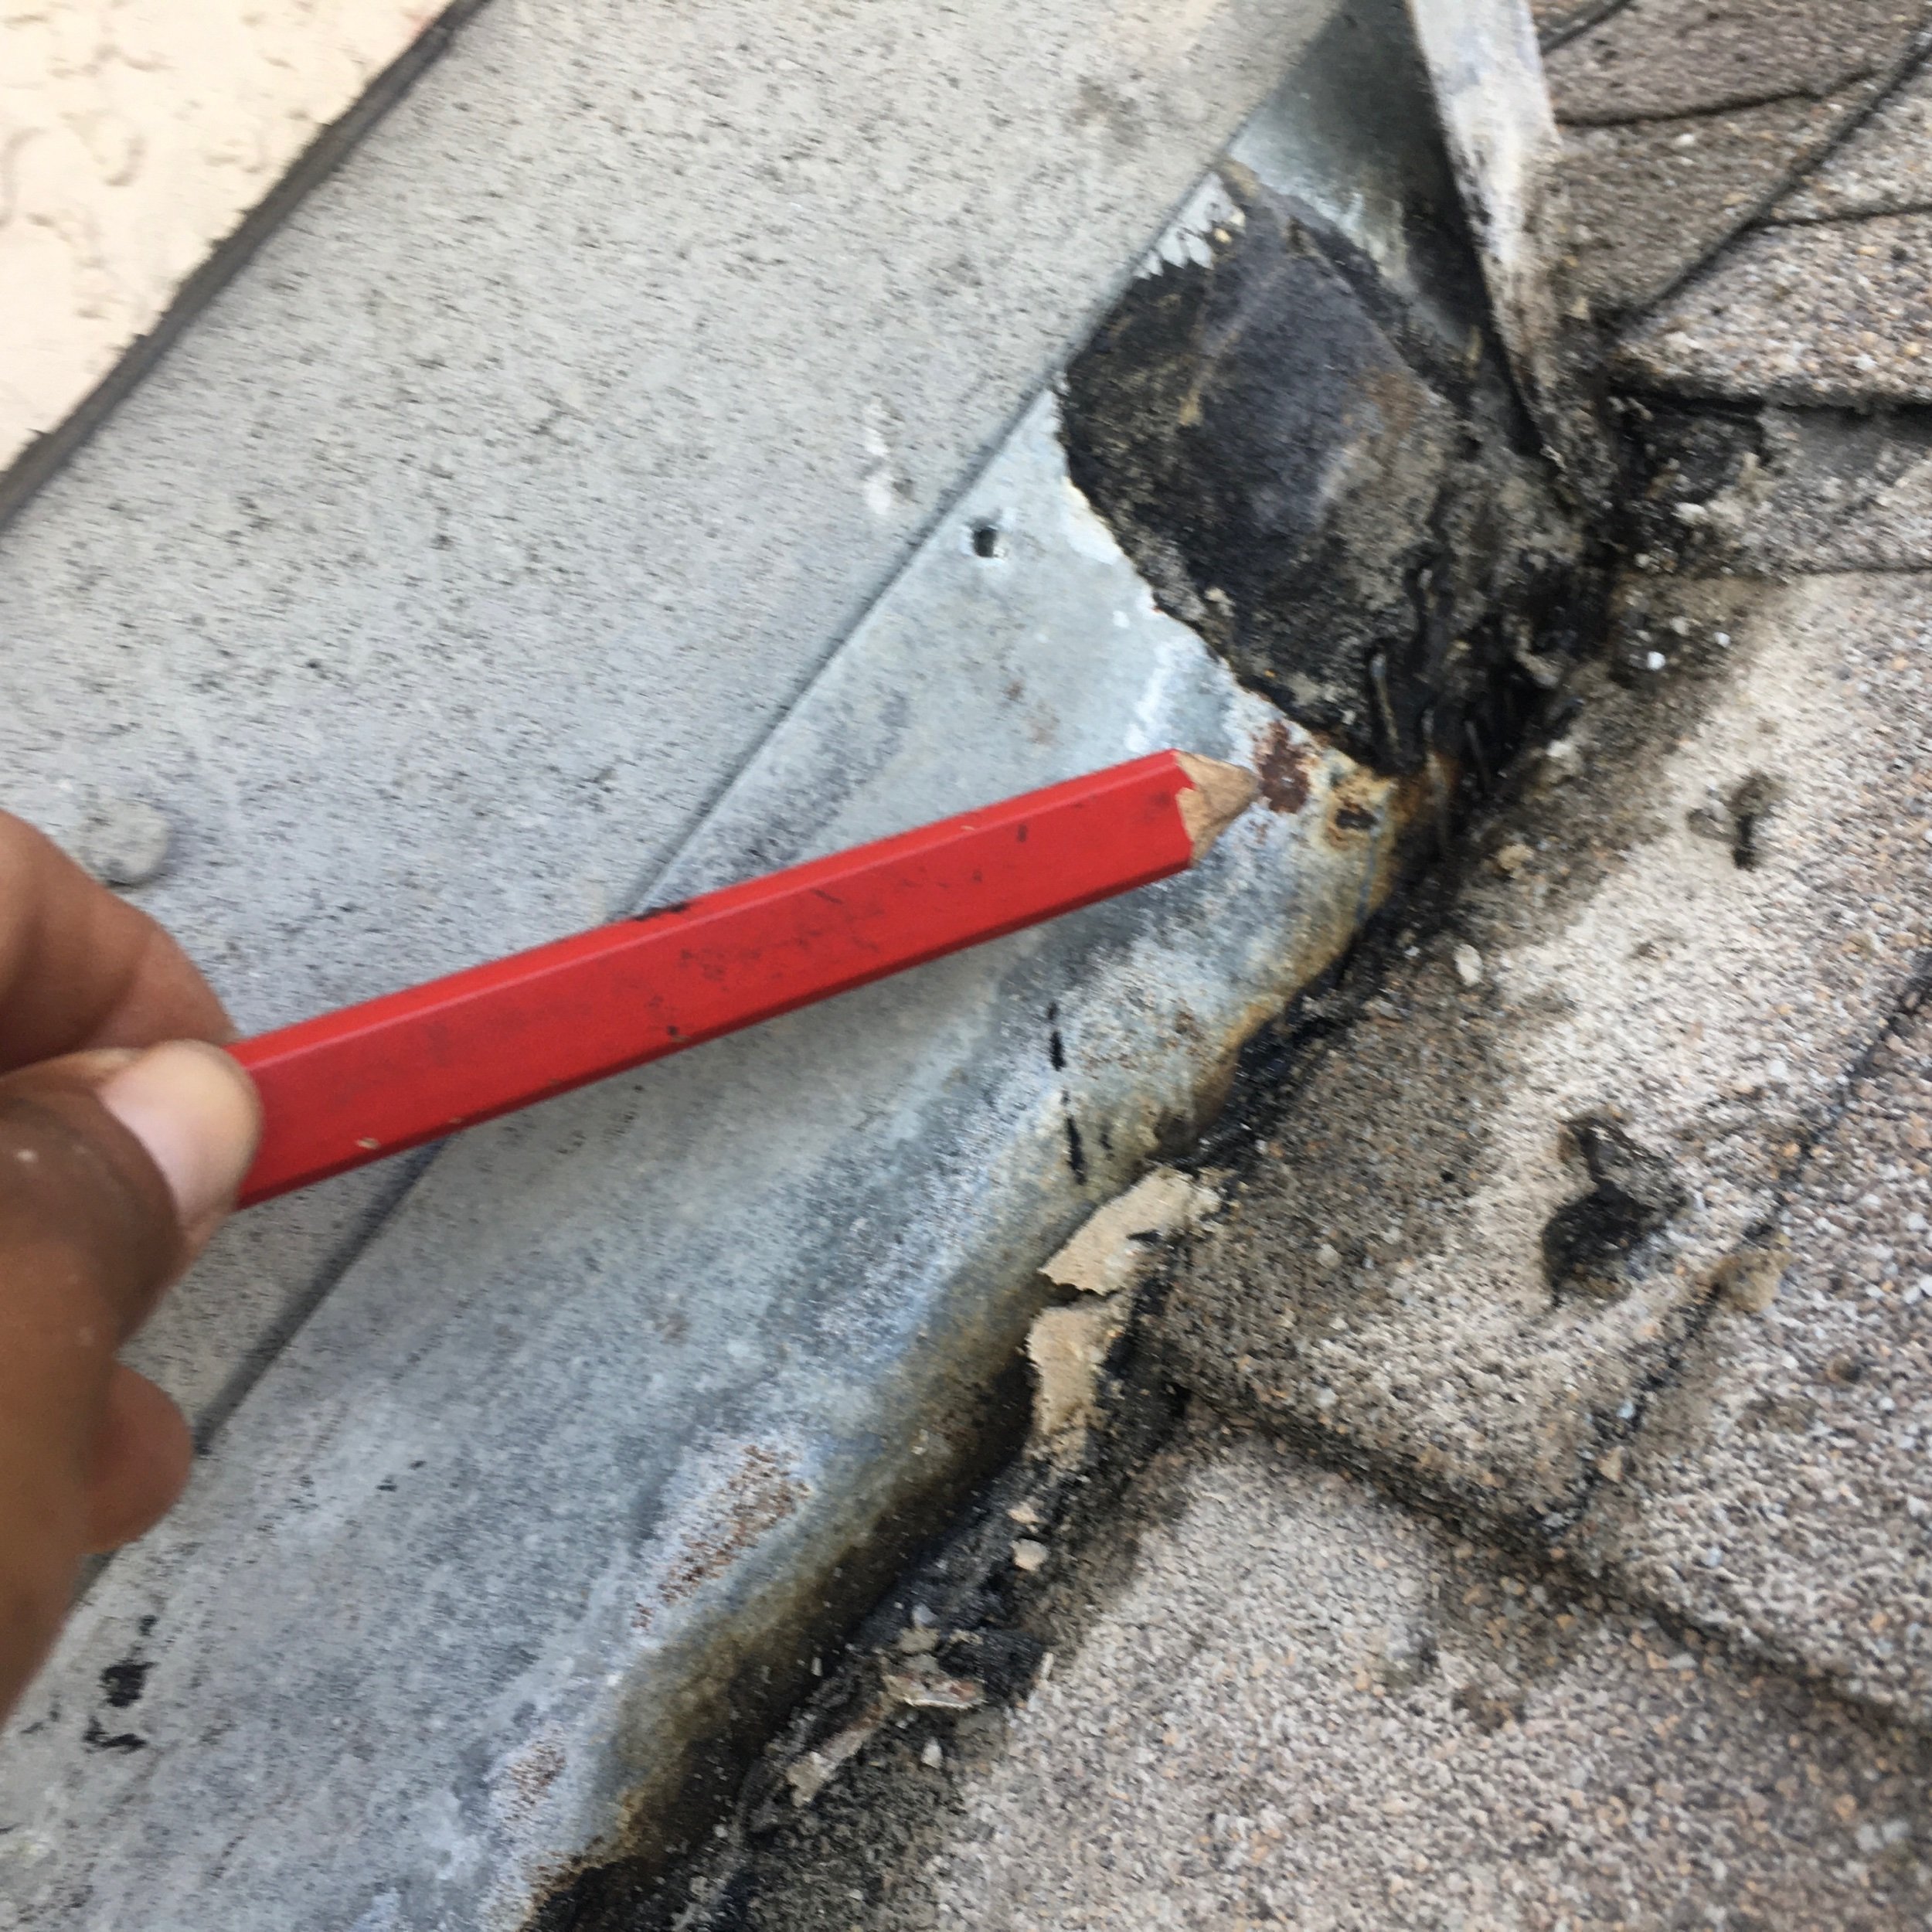
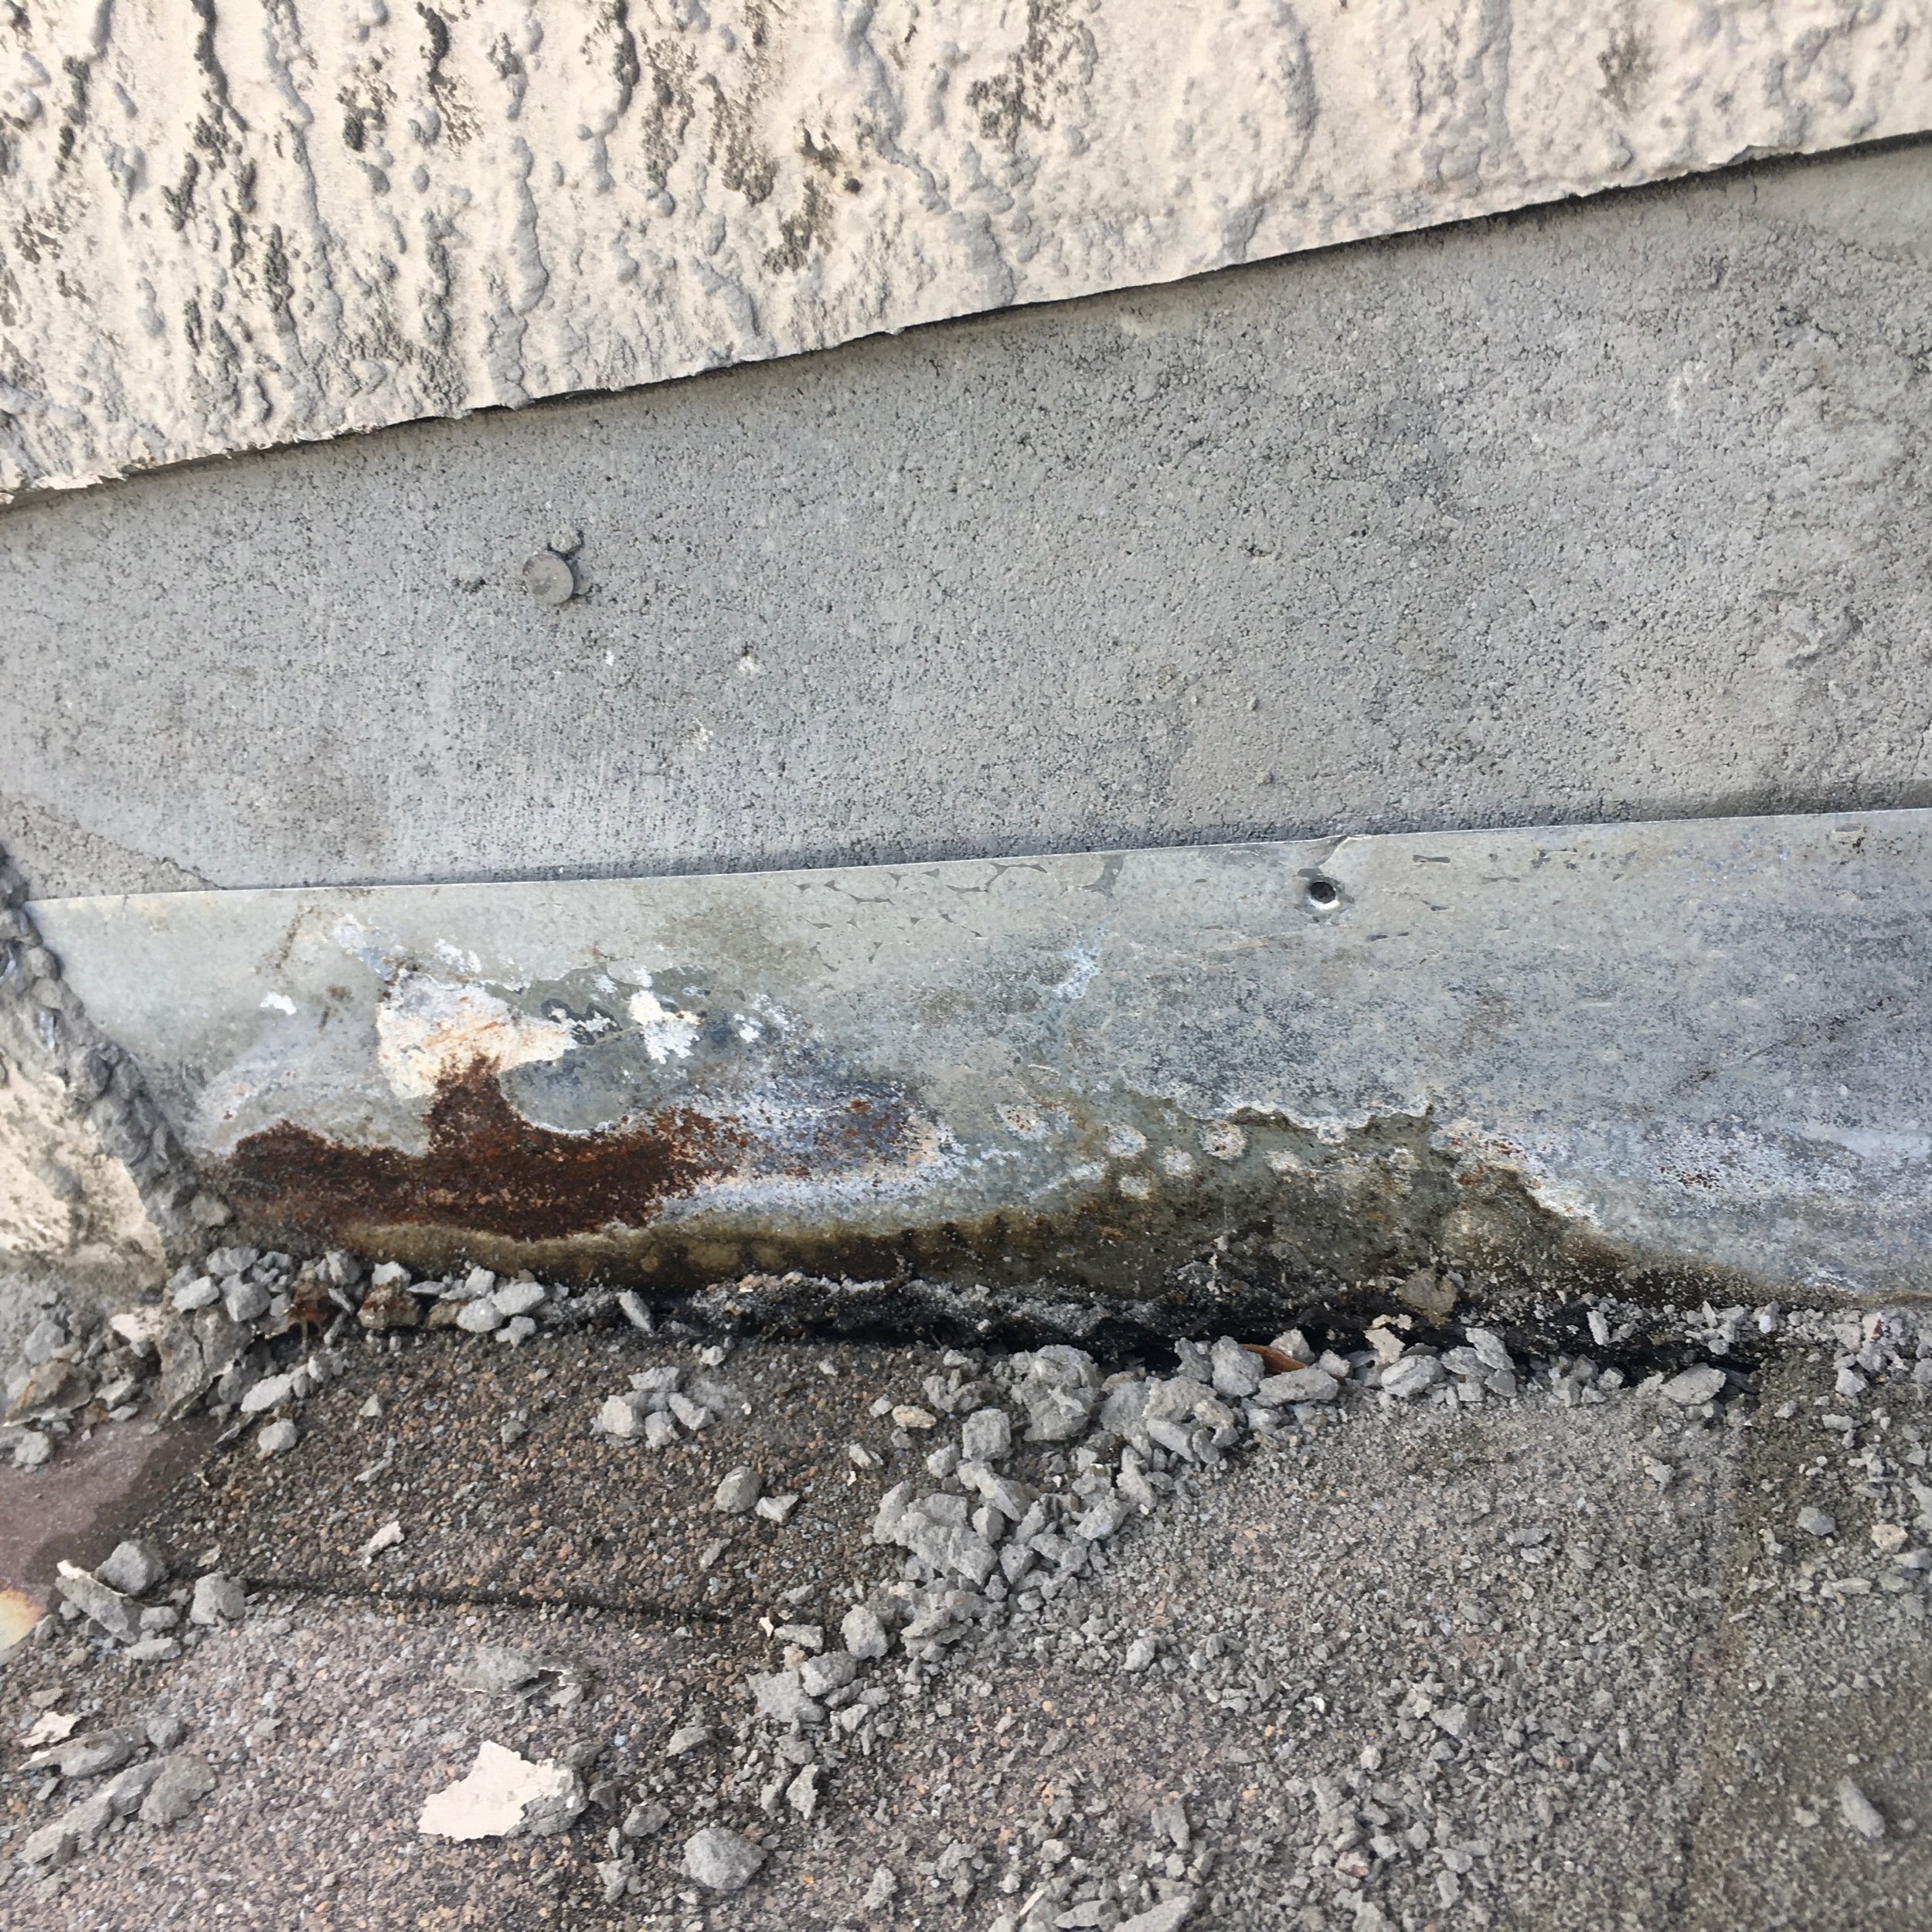
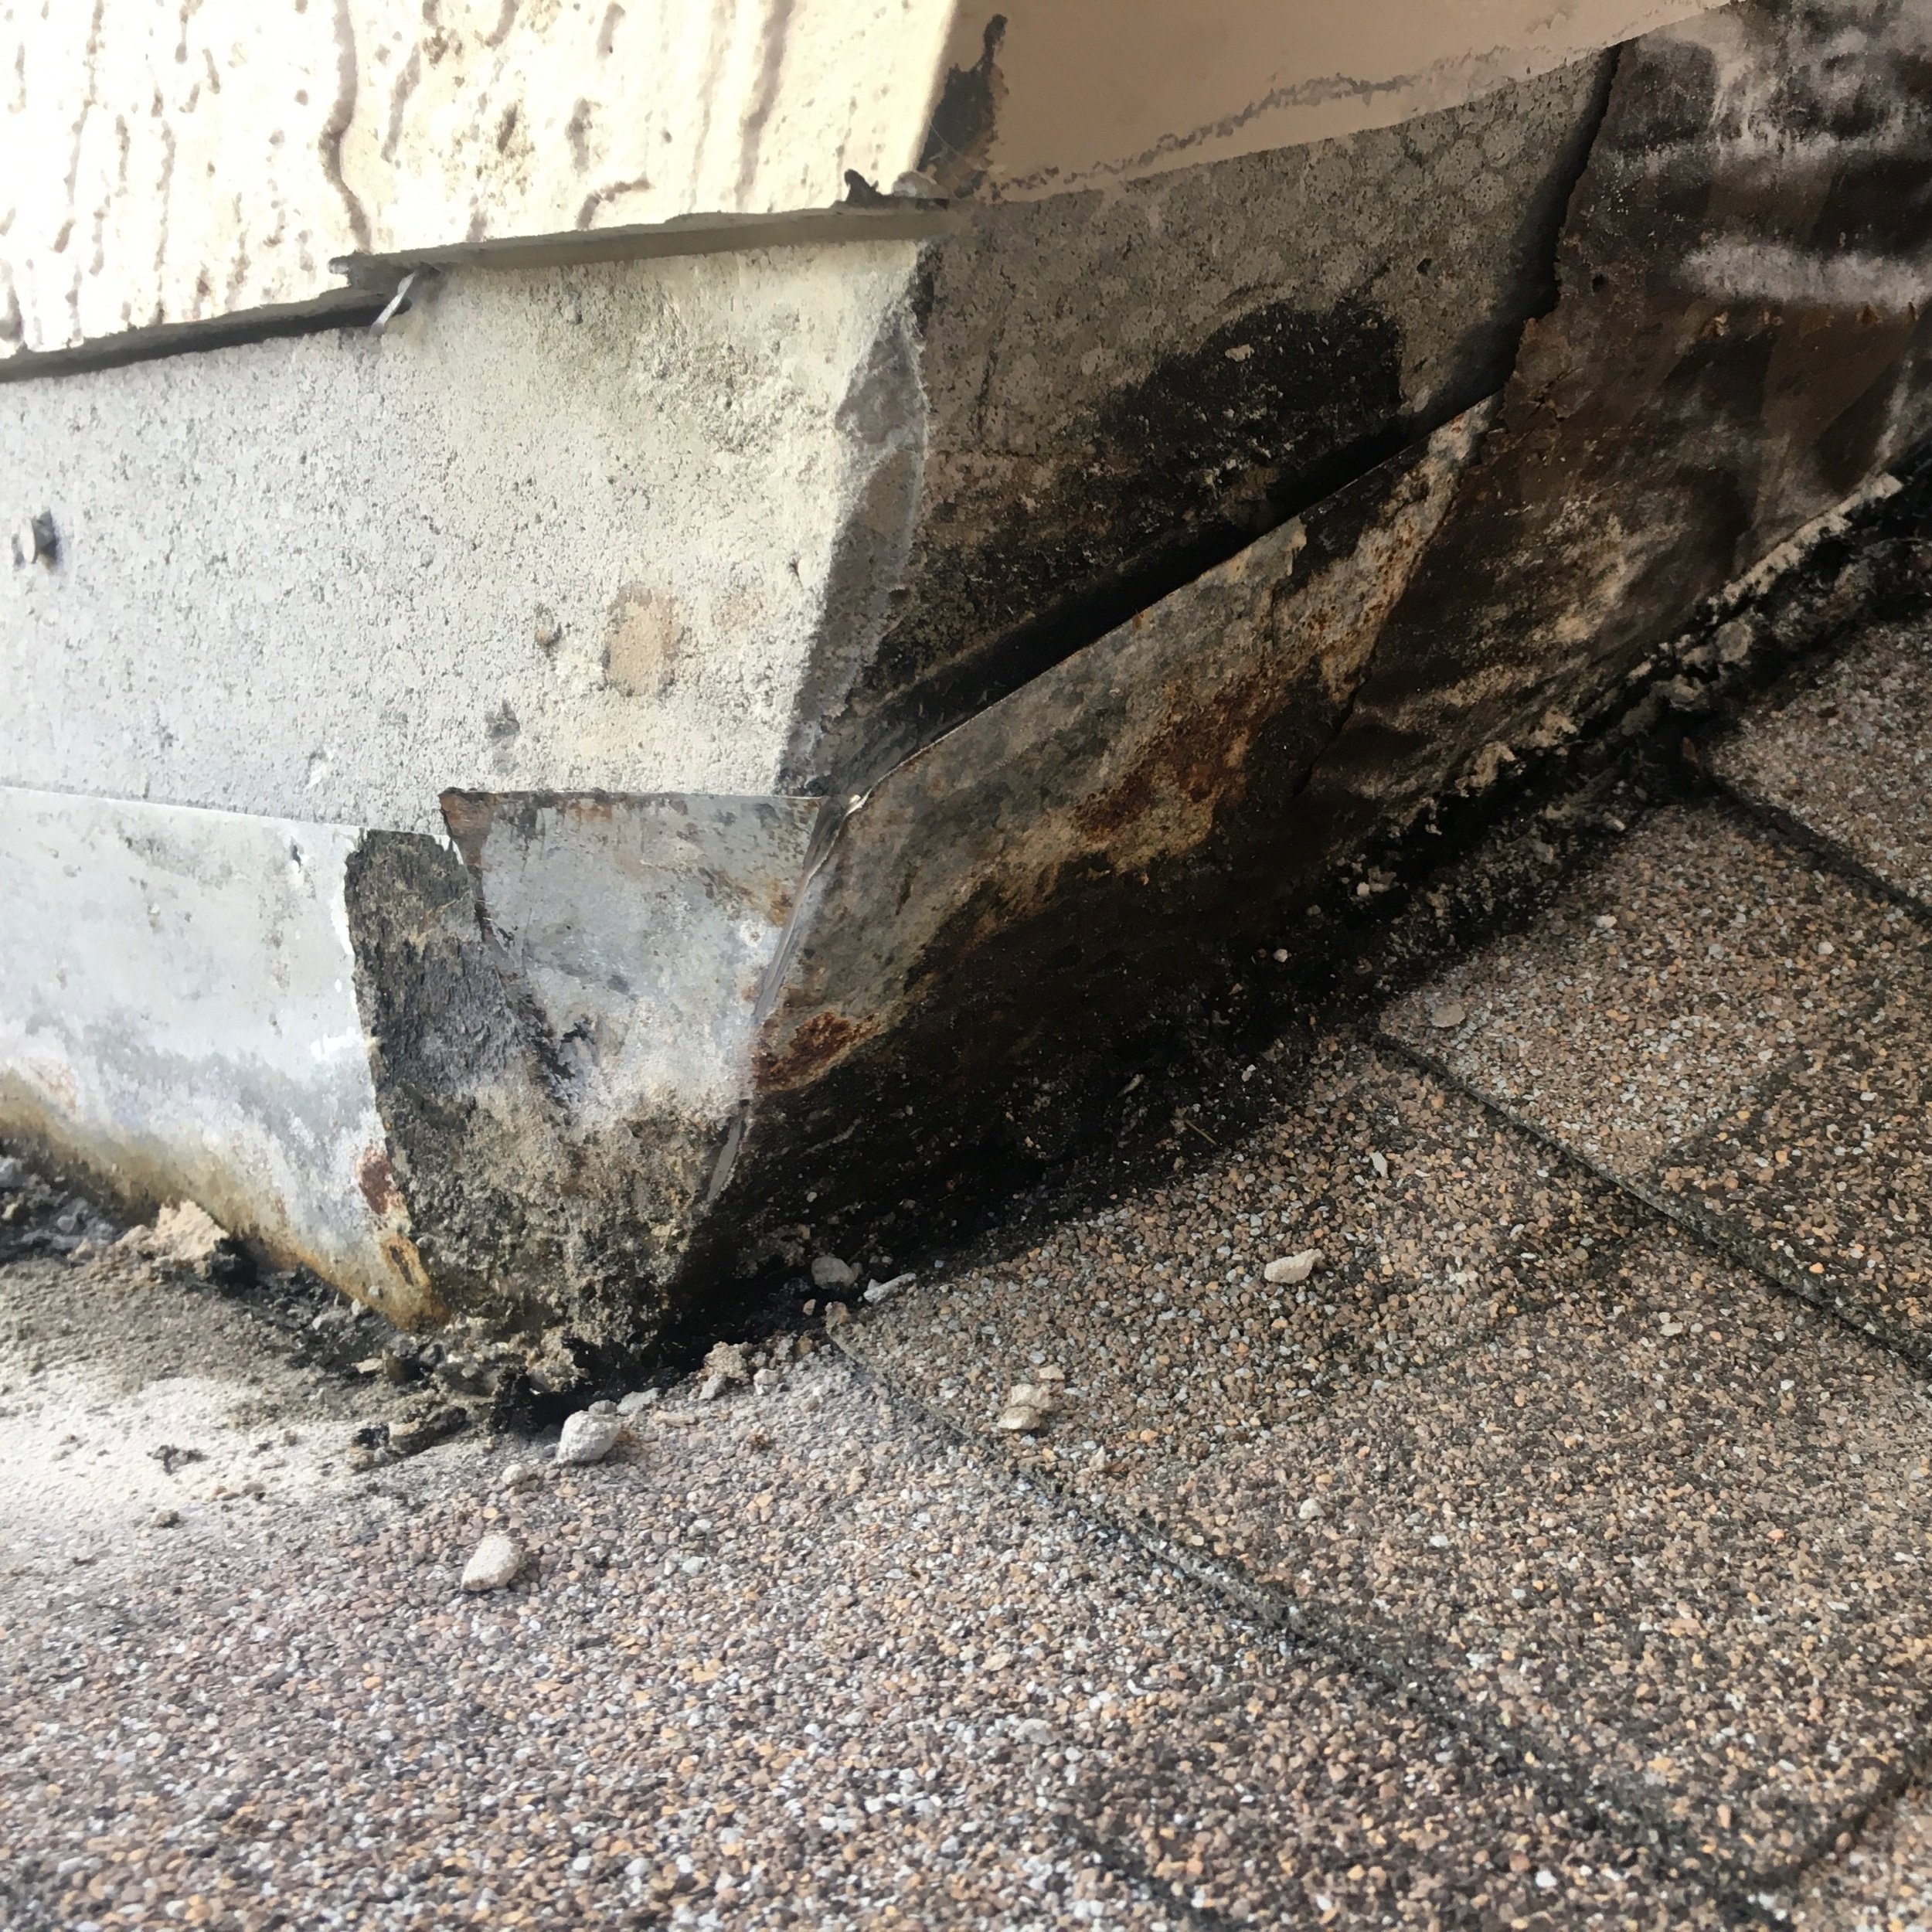
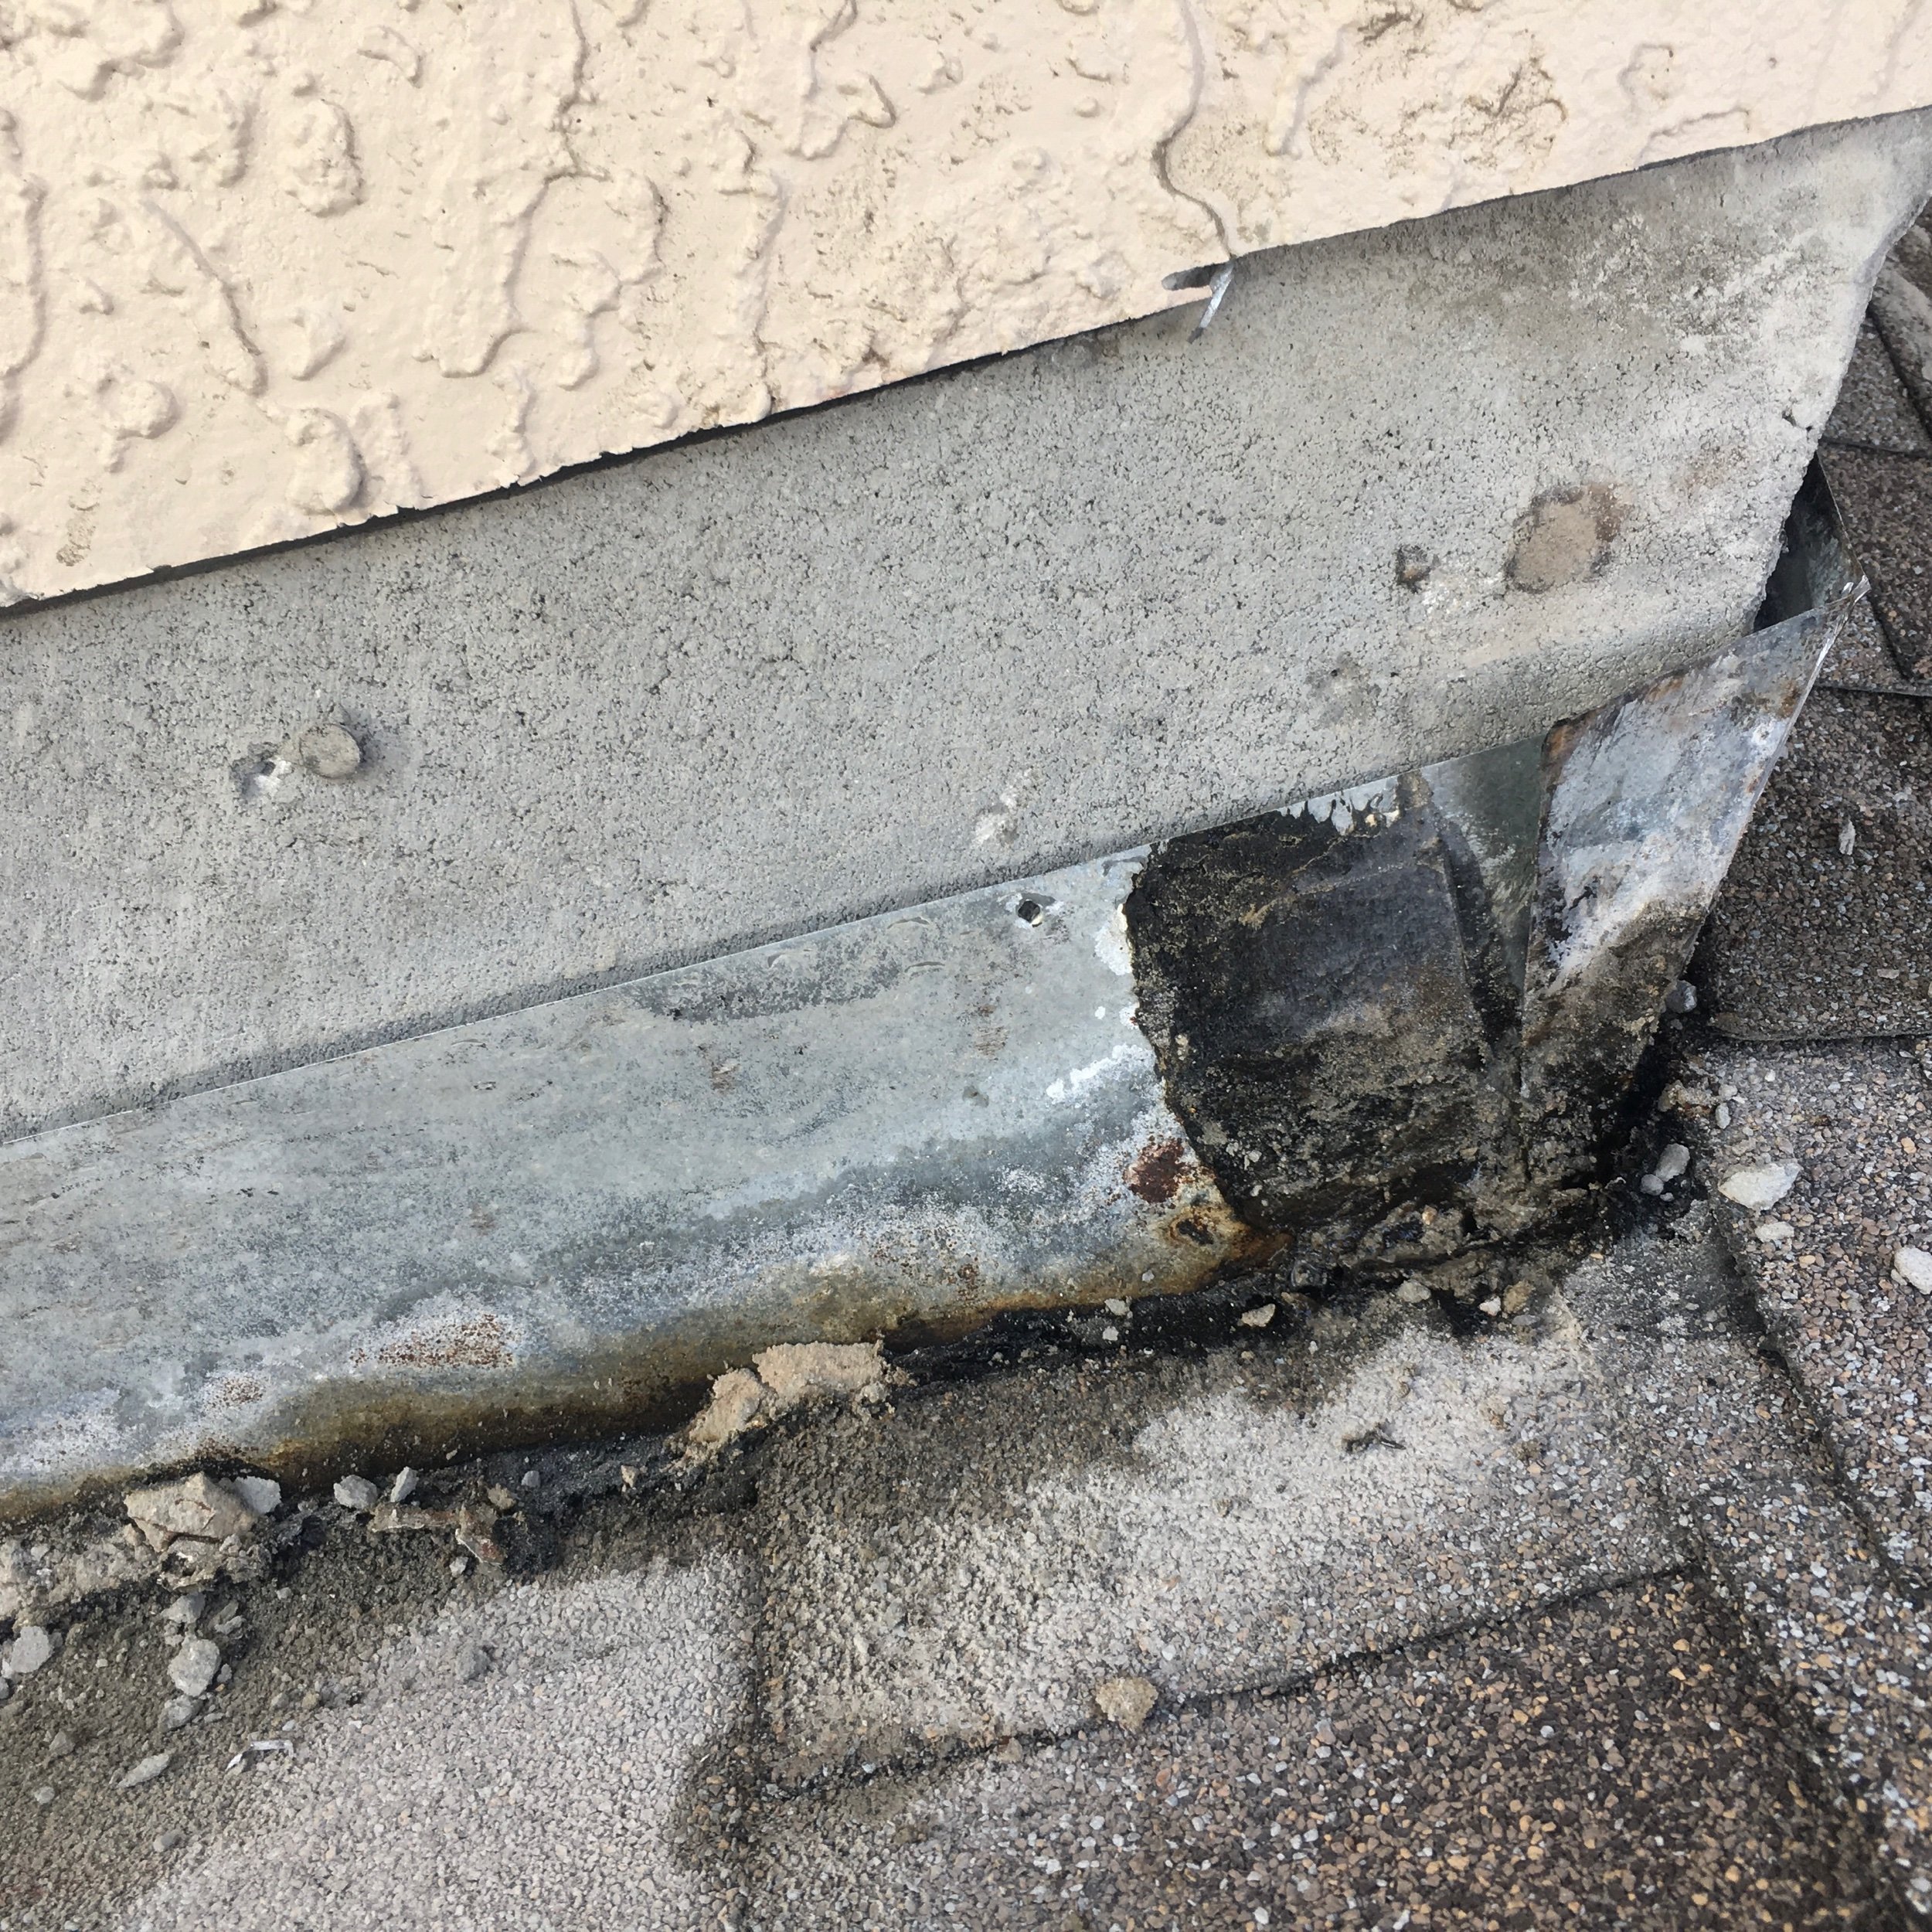
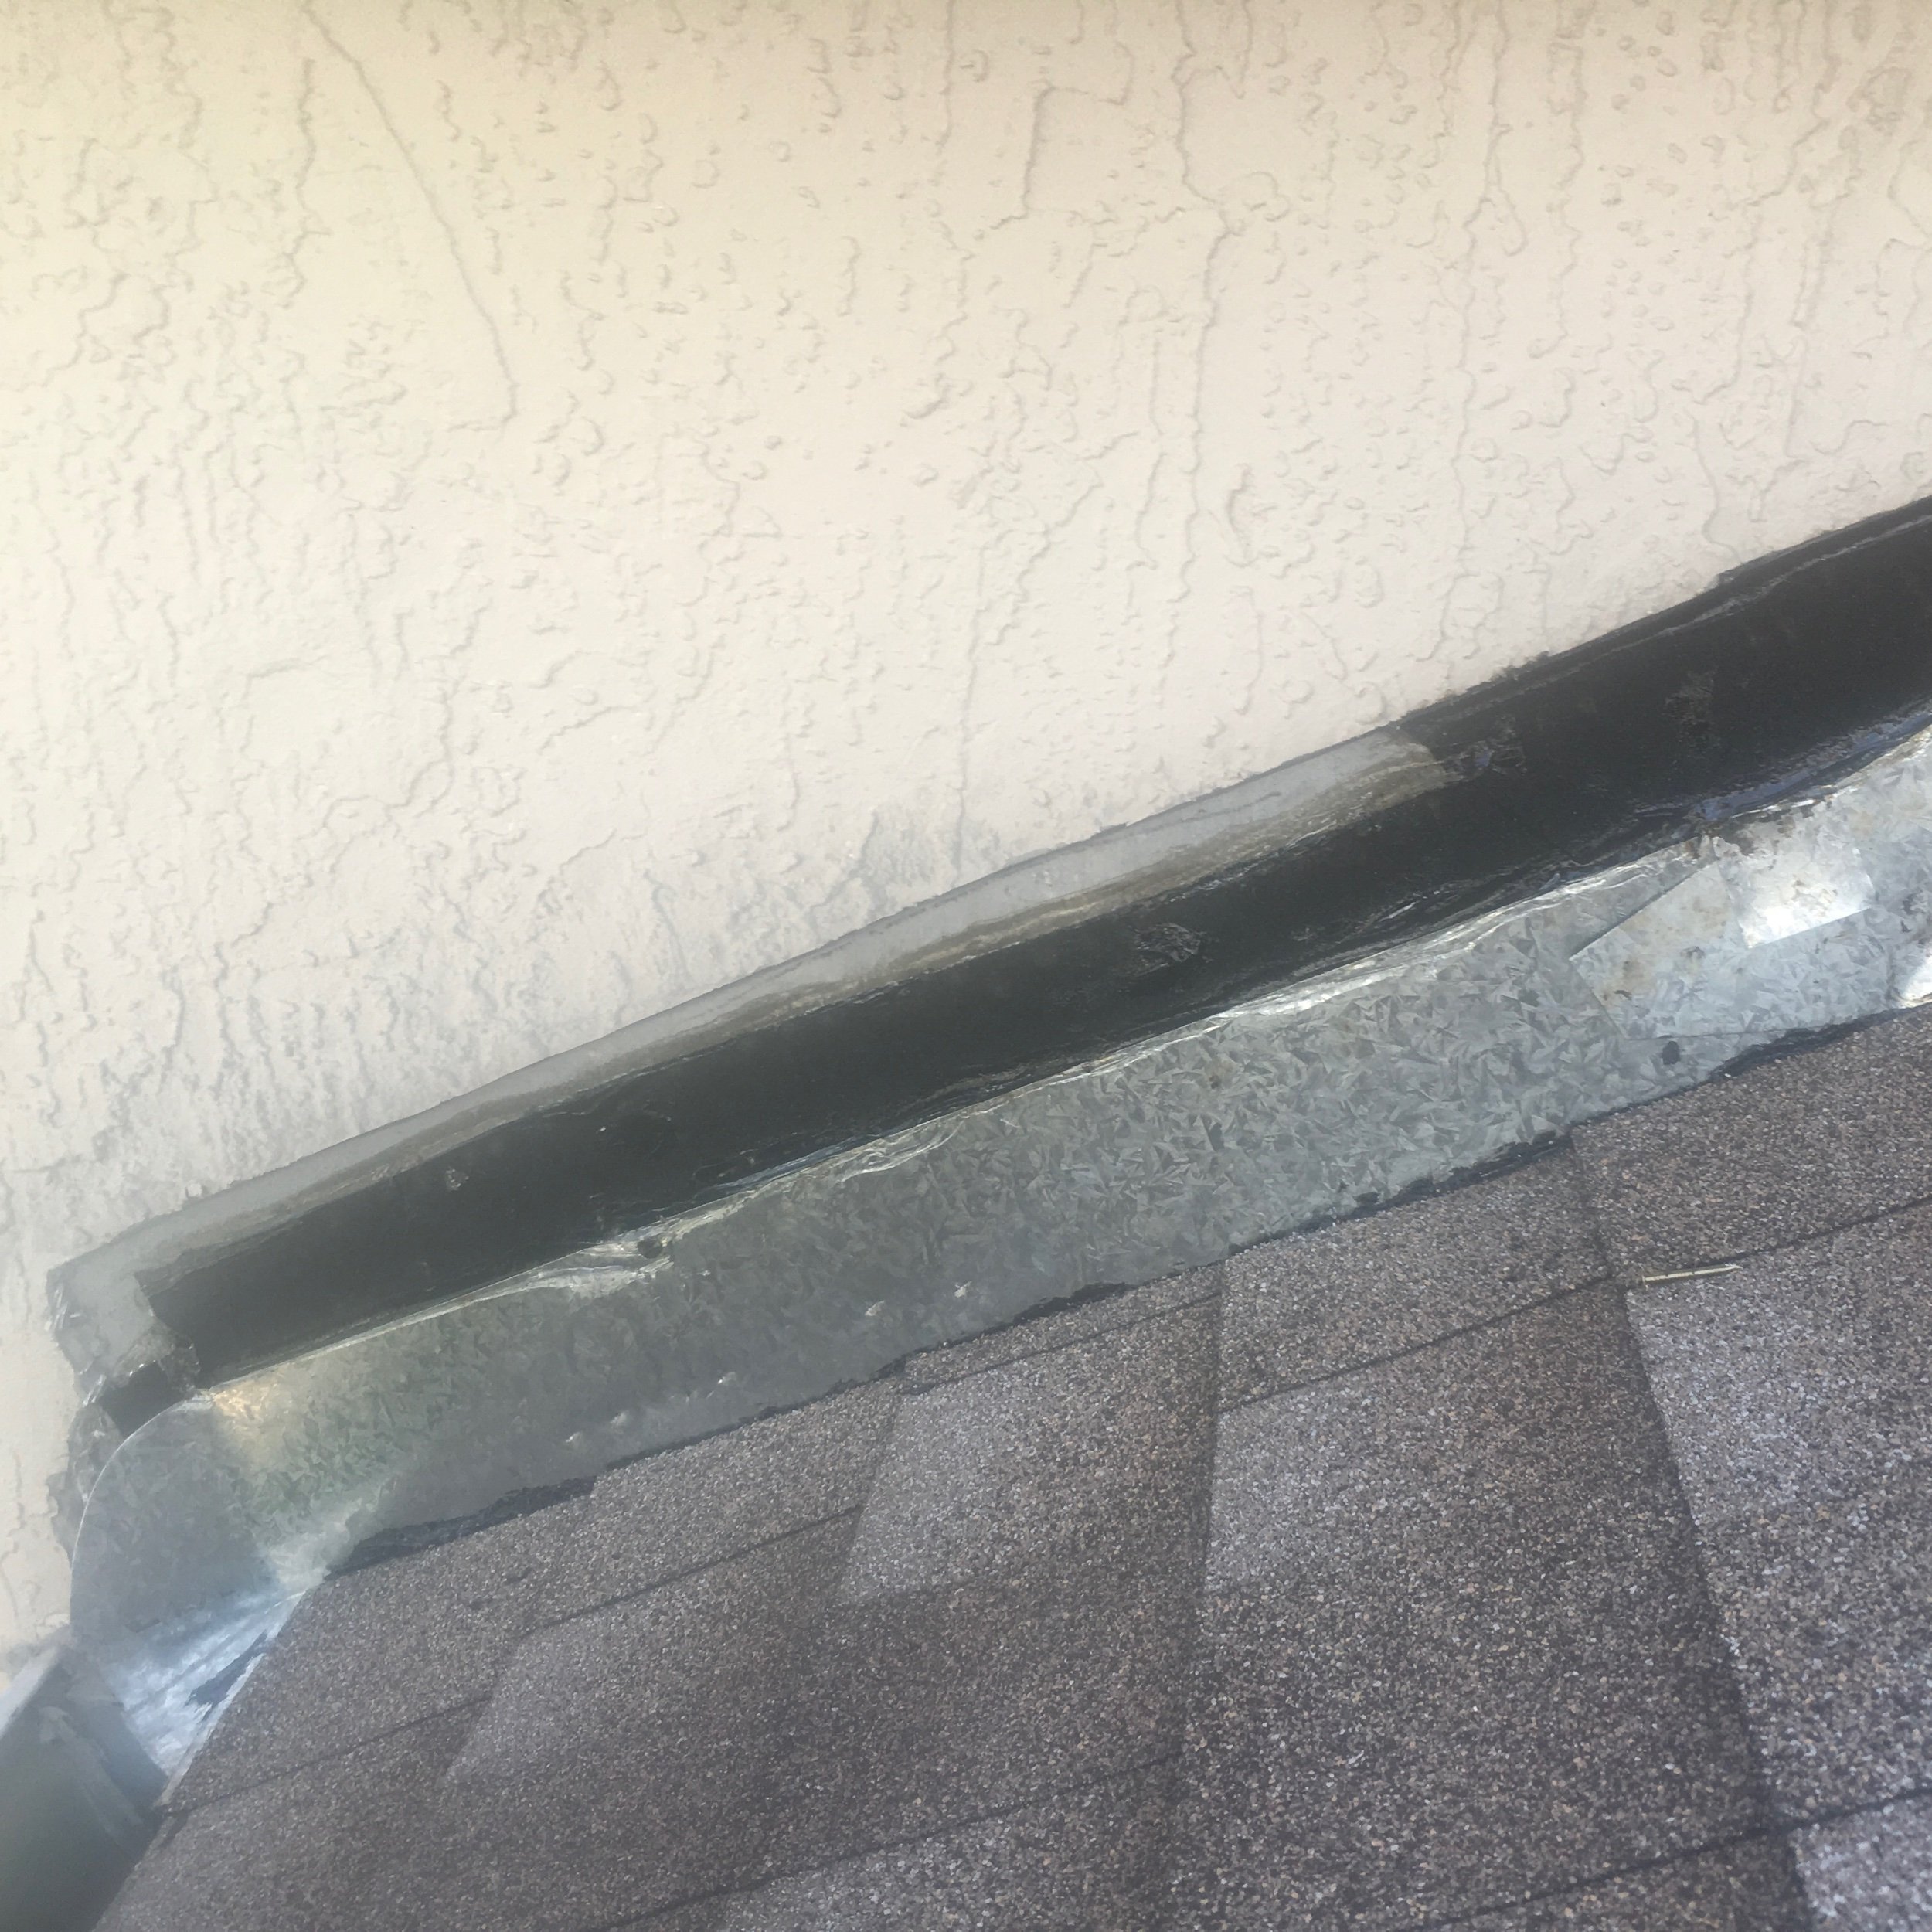
Wall/Roof Flashing
Spreading tar and sealant in this wall to roof transition for years caused moisture to get trapped under the shingles. This ongoing problem only worsened with time, water not draining properly on the flashing combined with low fasteners discovered where the flashing attaches to the wall. To repair this roof it was necessary to remove stucco, remove the old flashing along with shingles and underlayment in this area, replace the flashing with new and a tie-in with new underlayment and shingles.
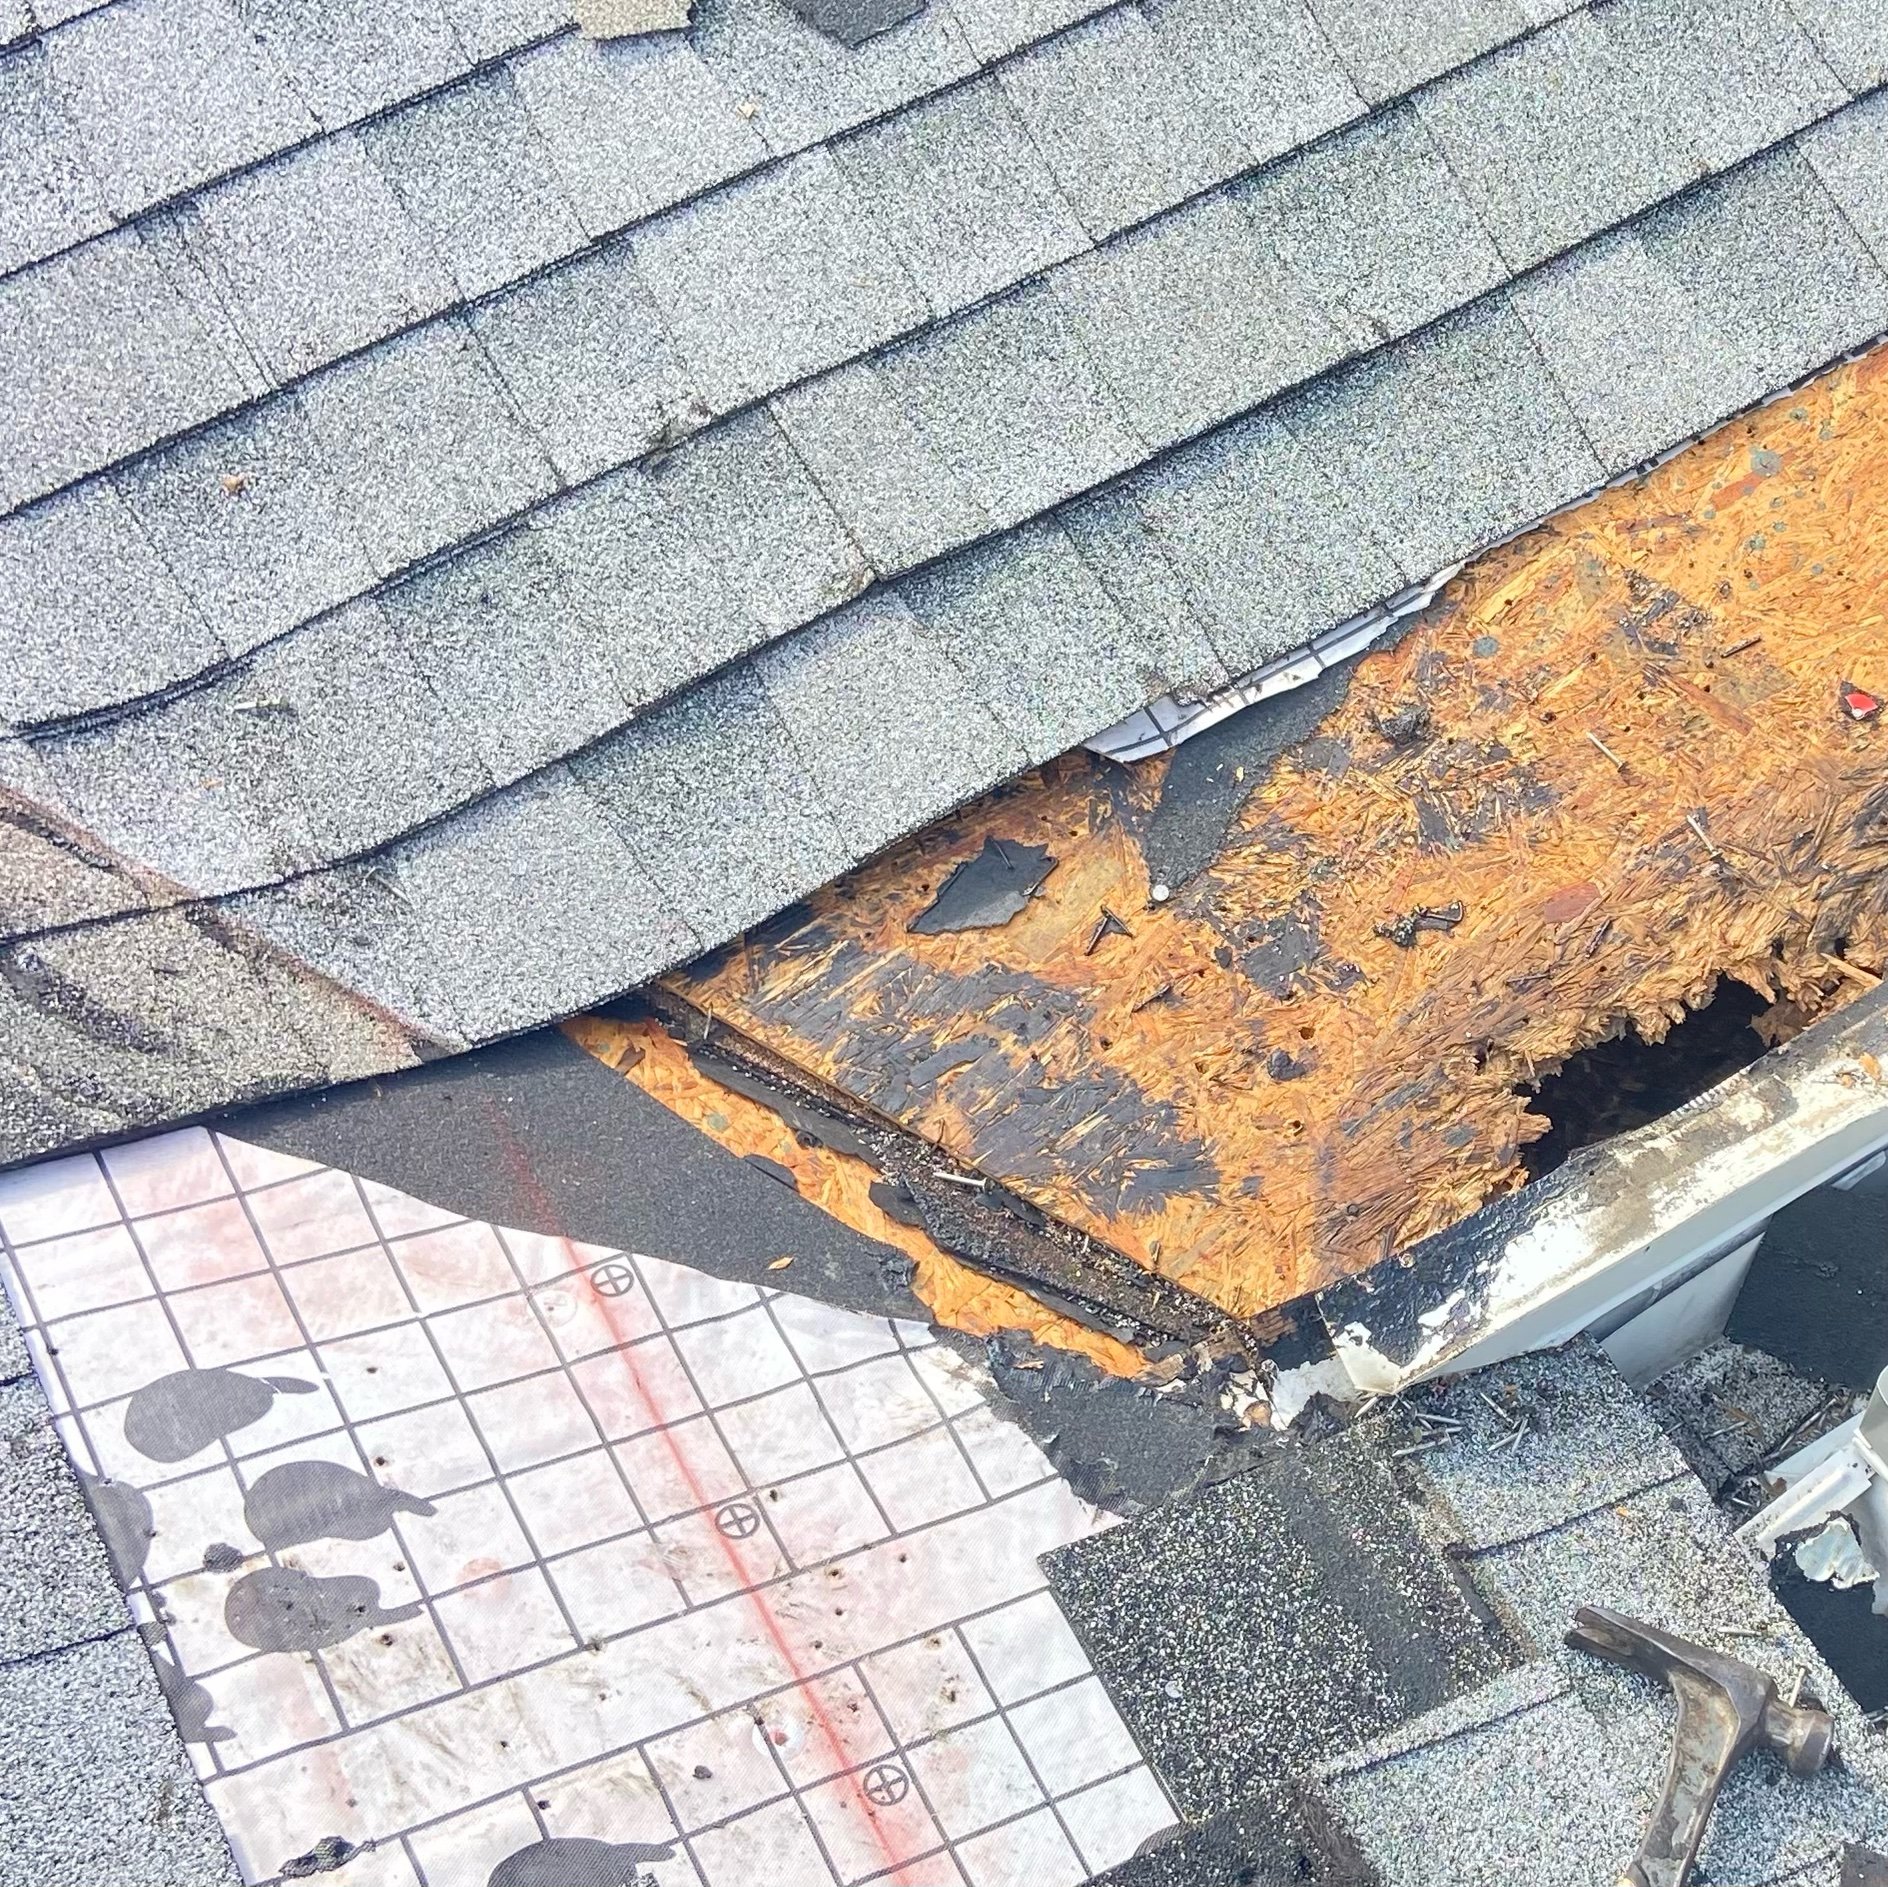

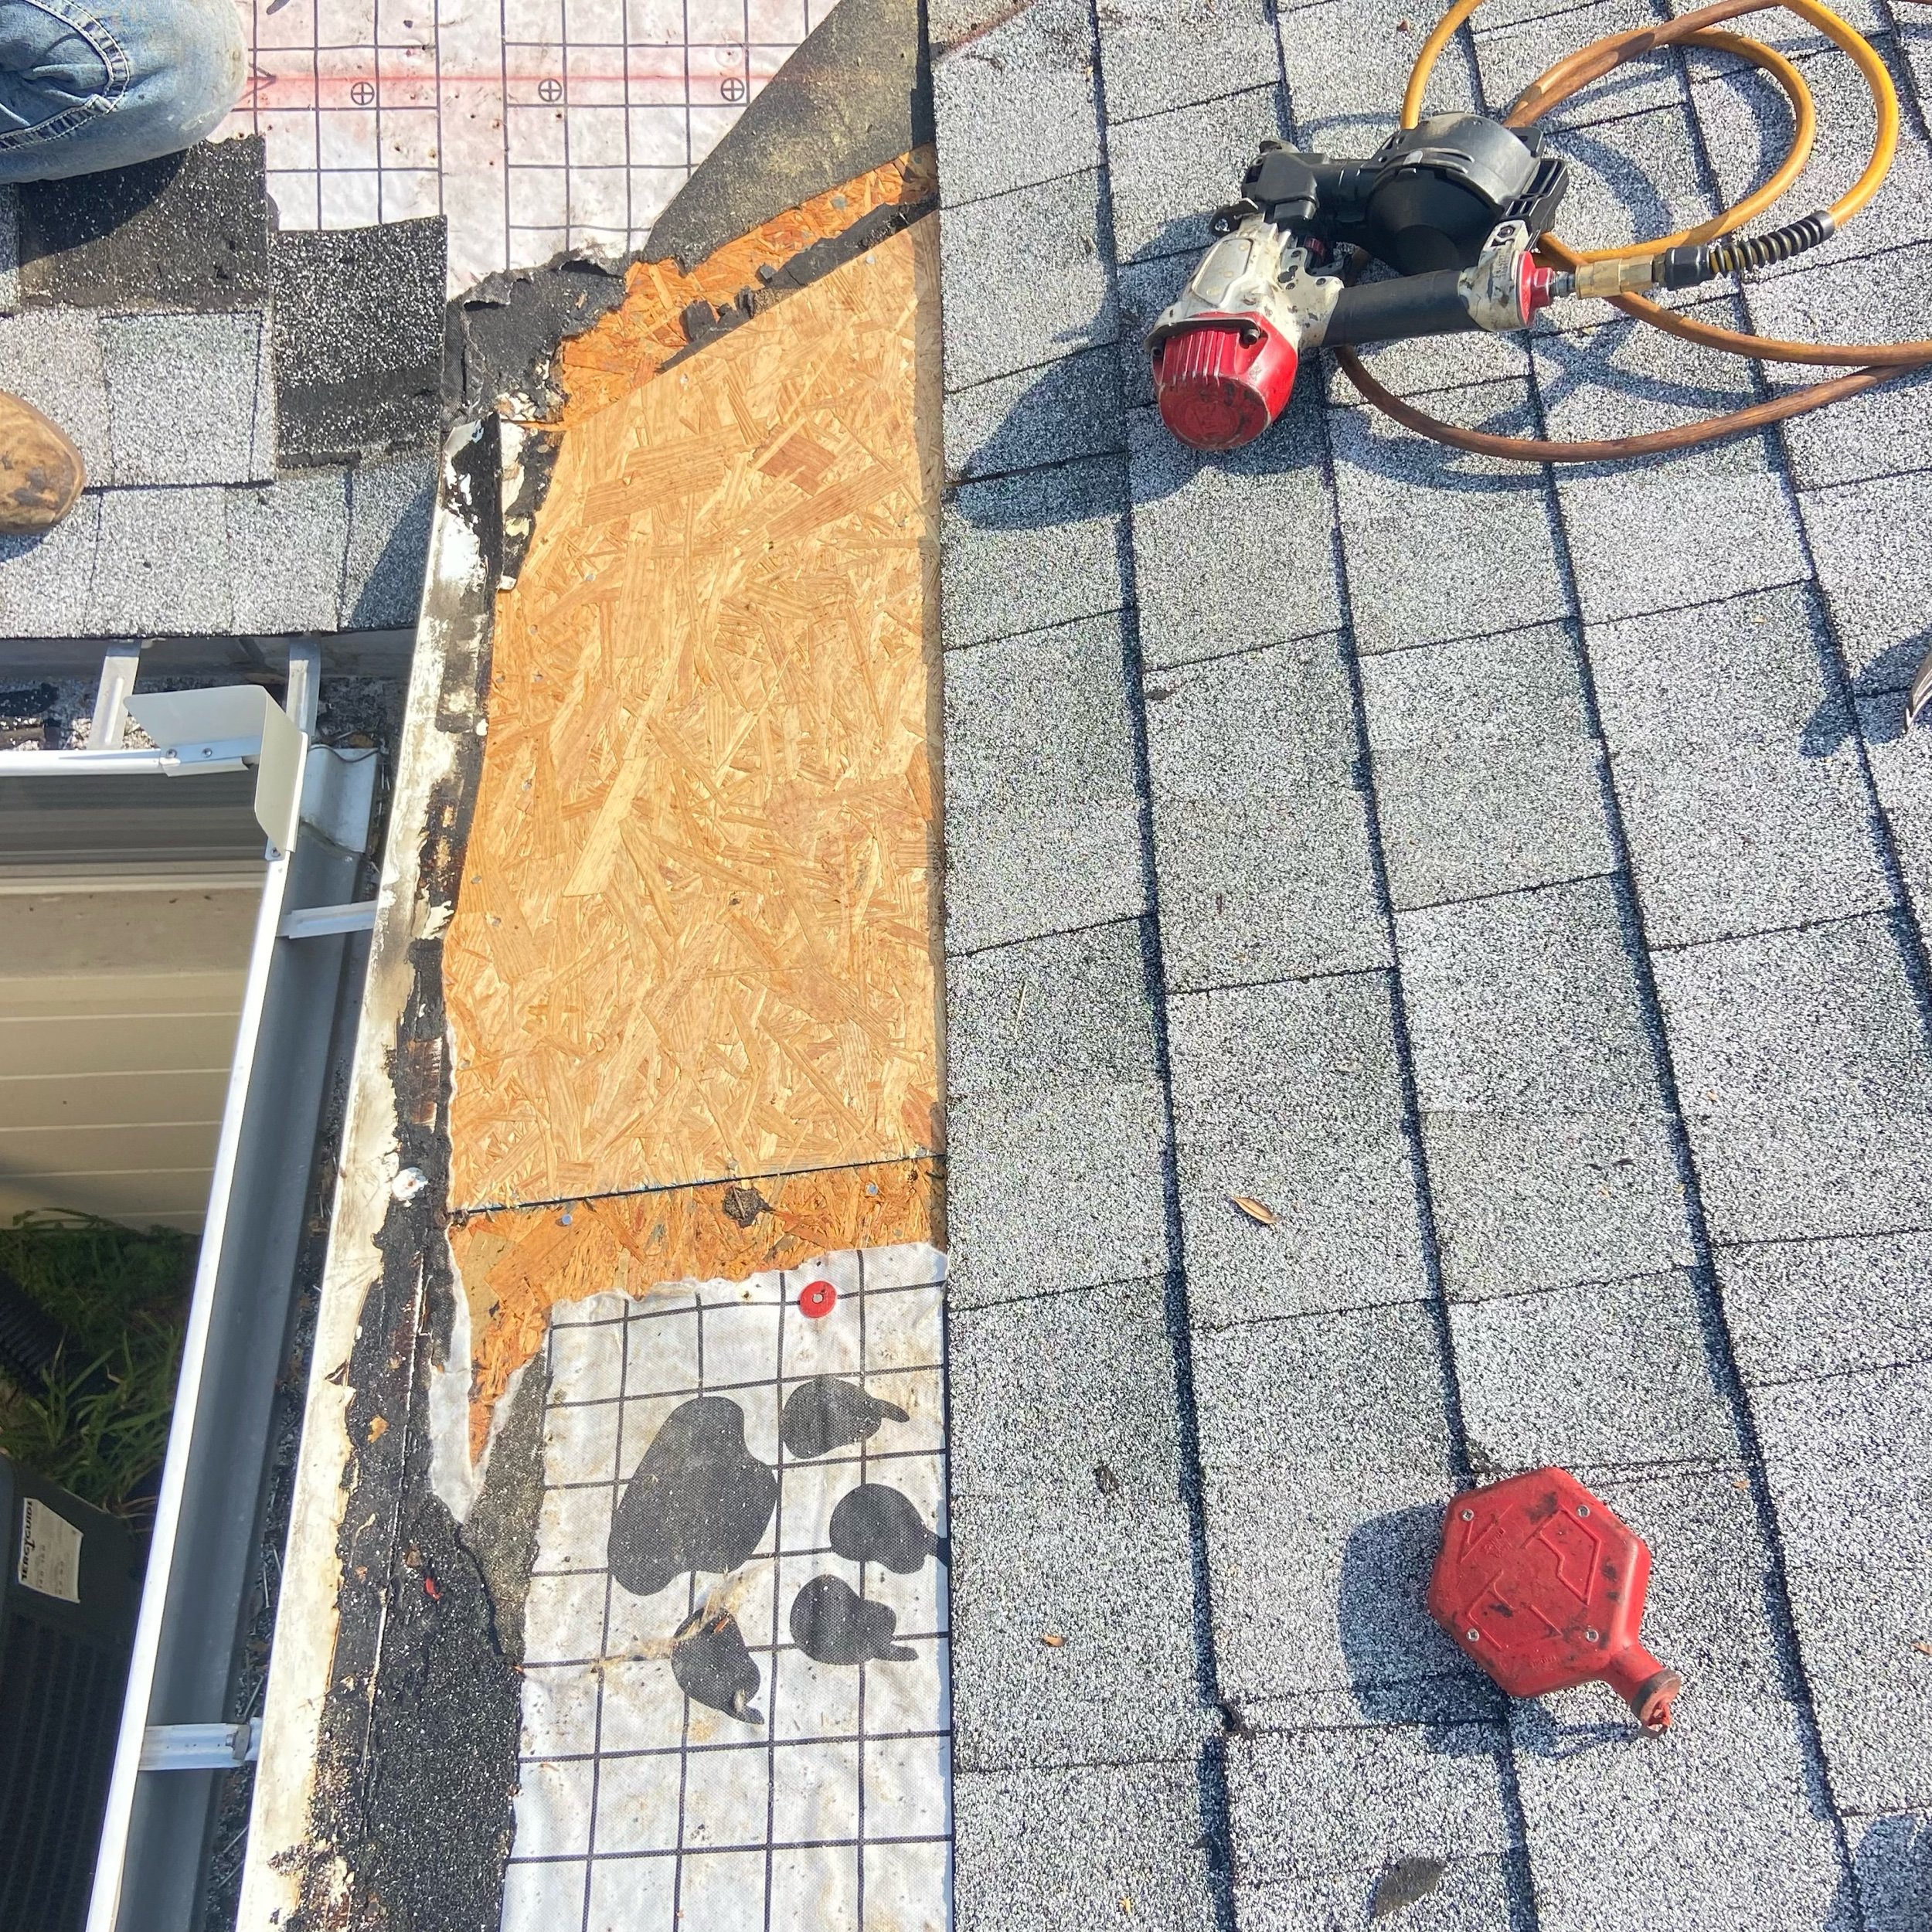
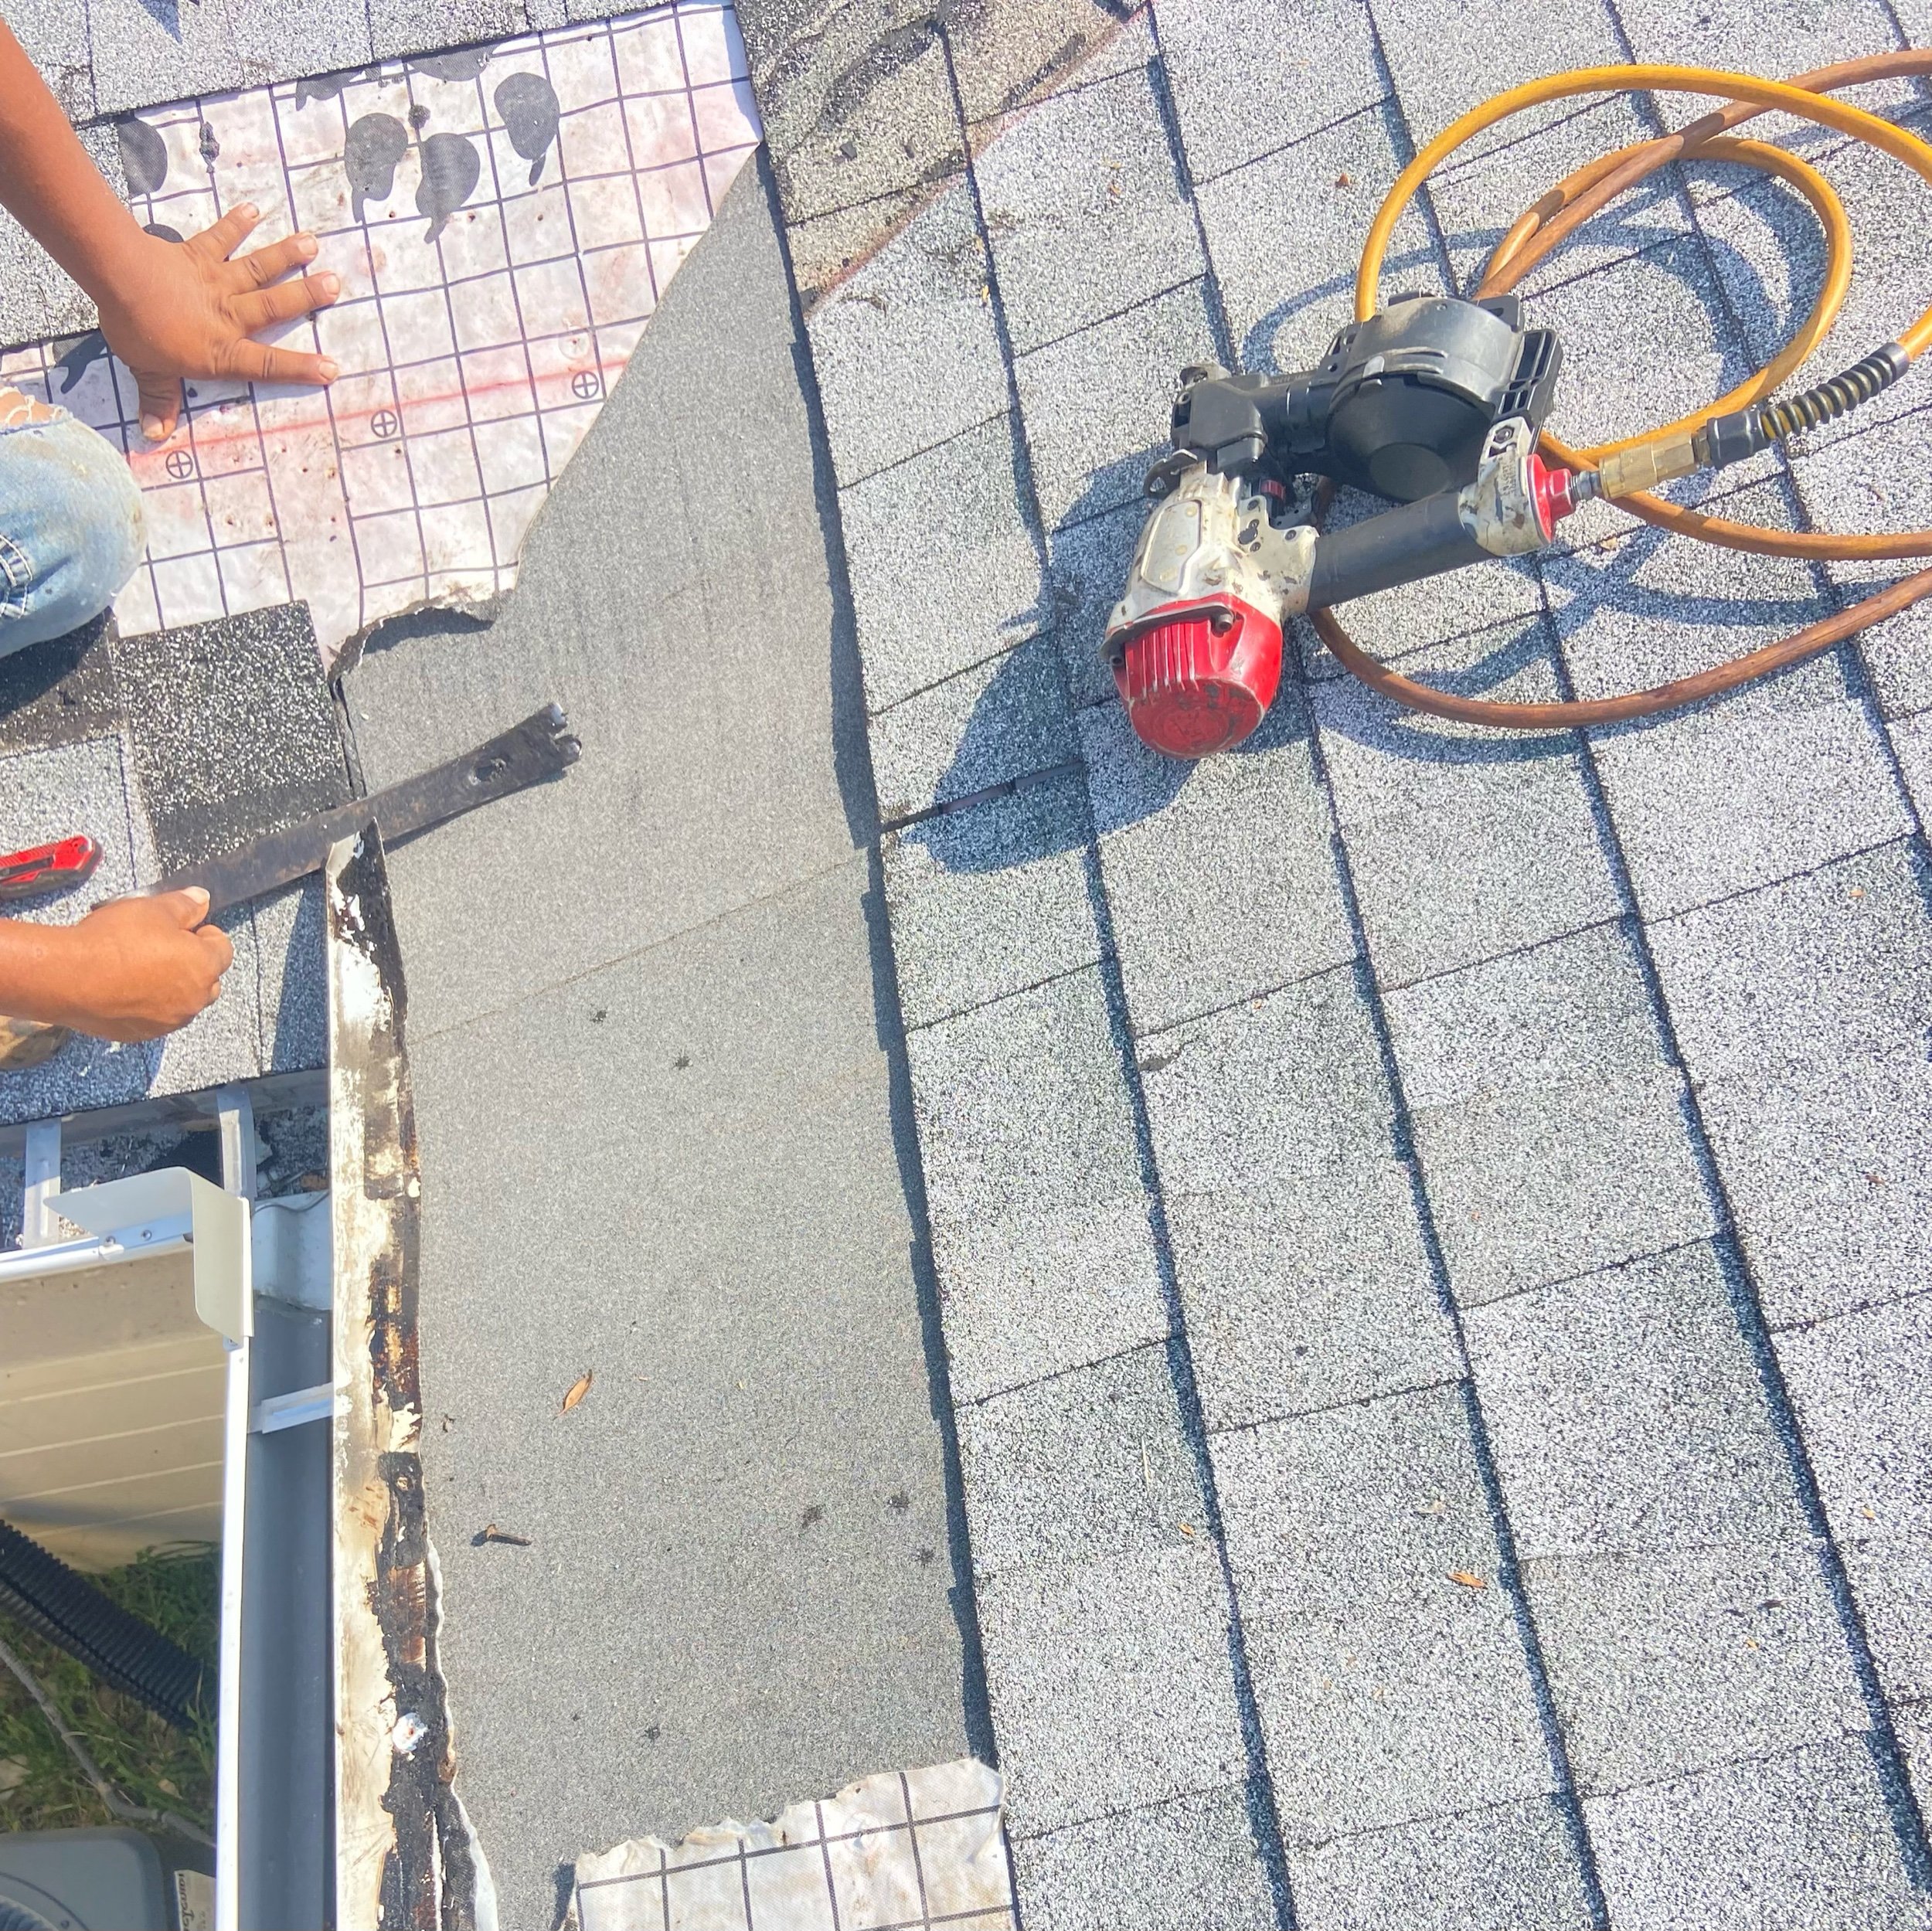
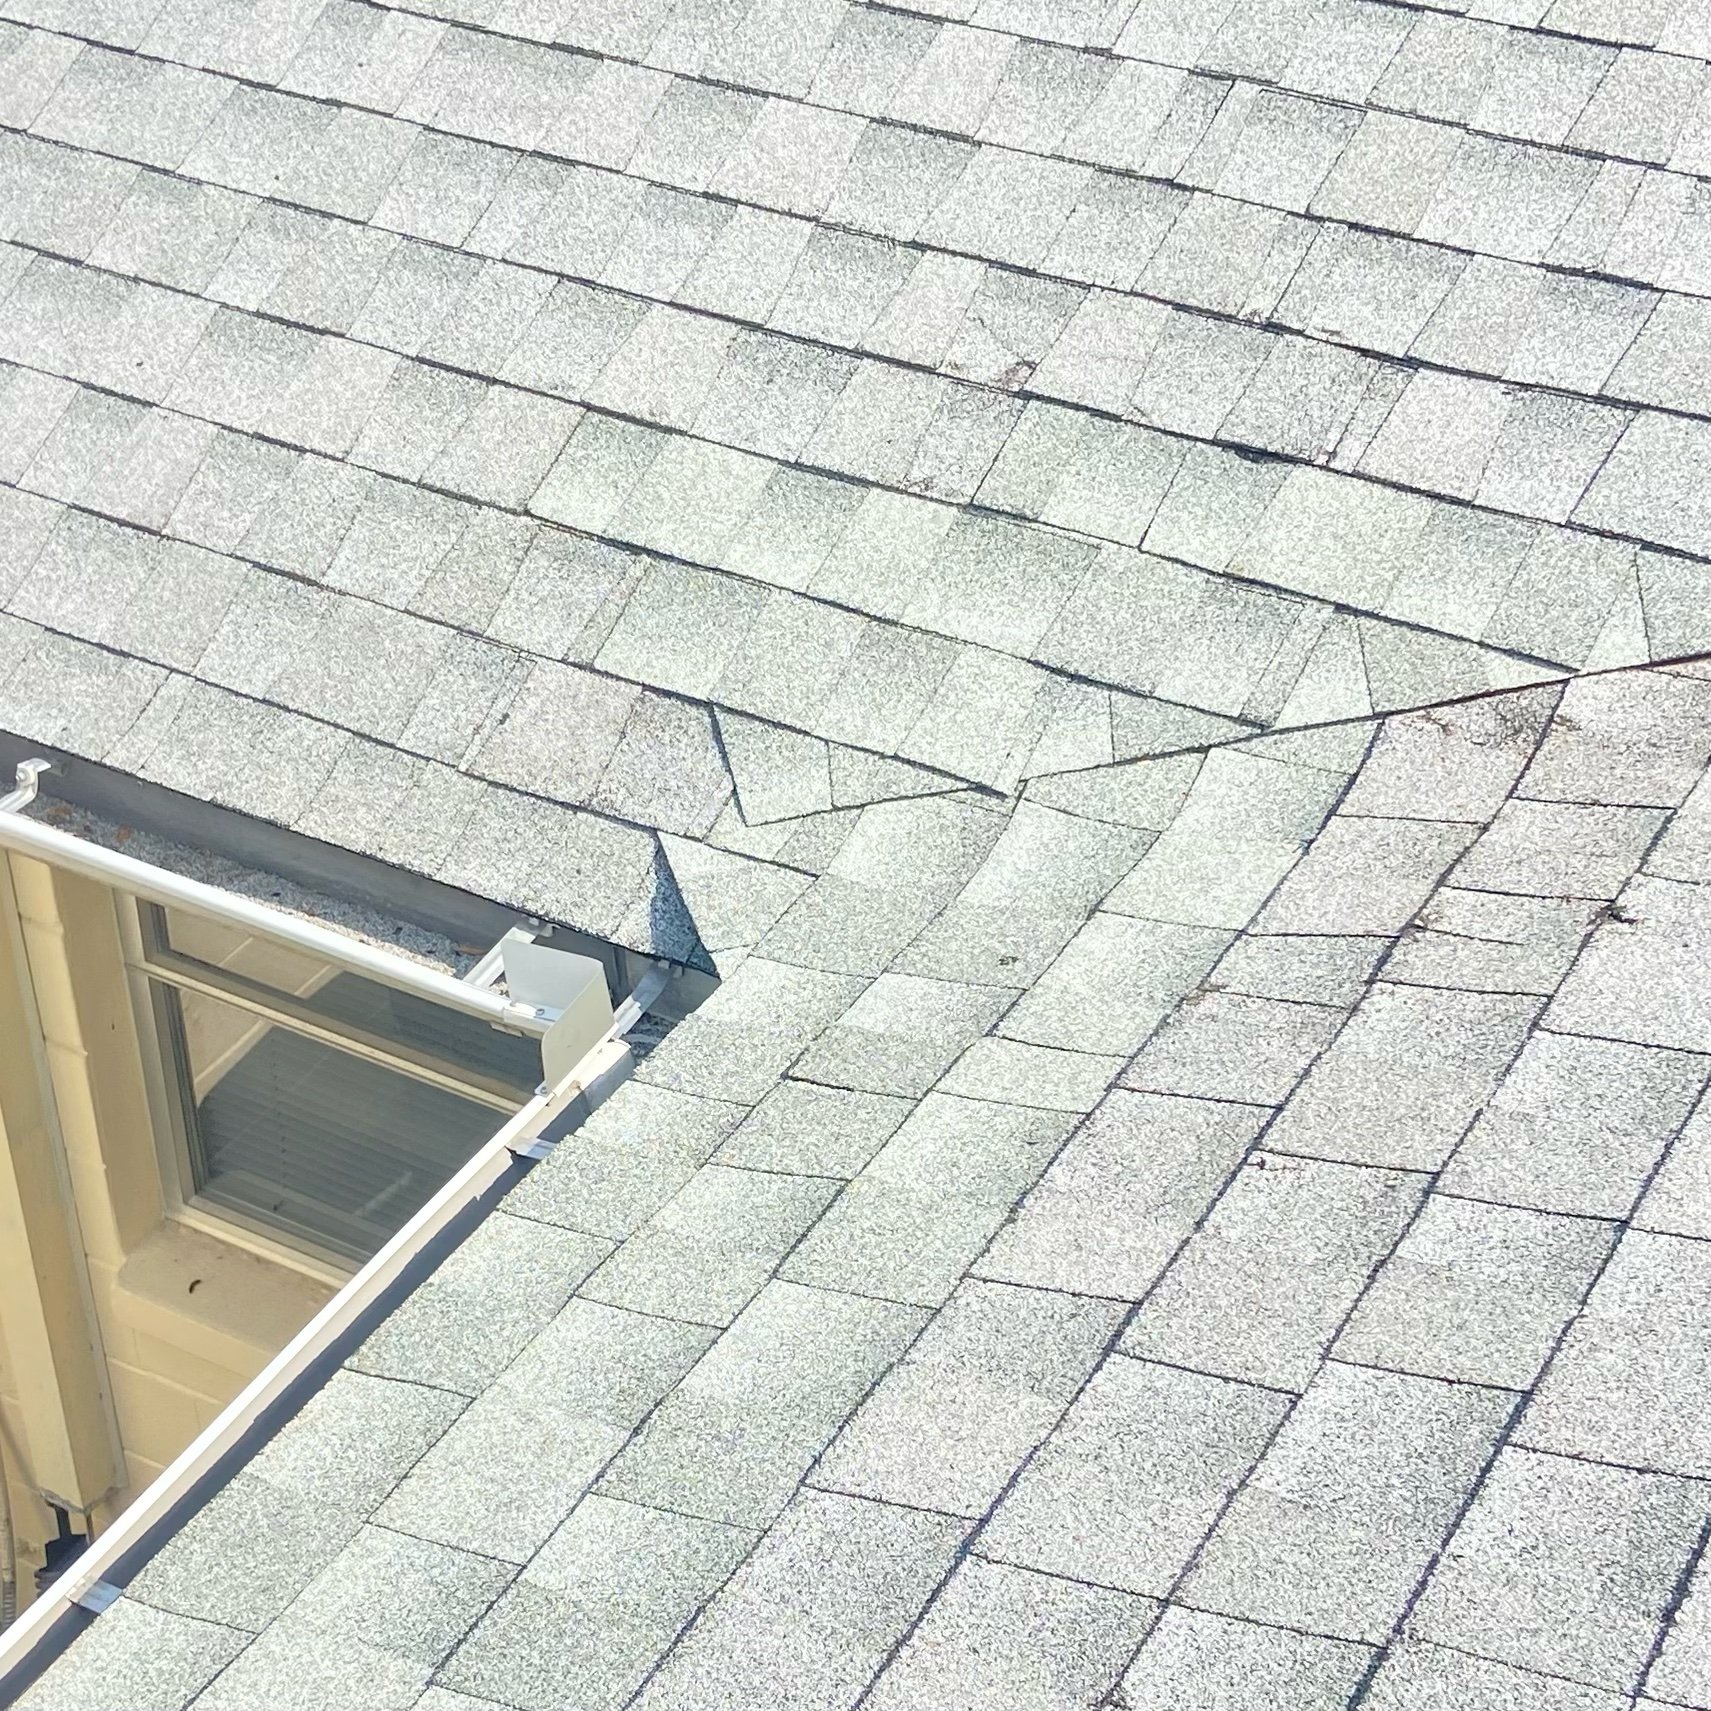
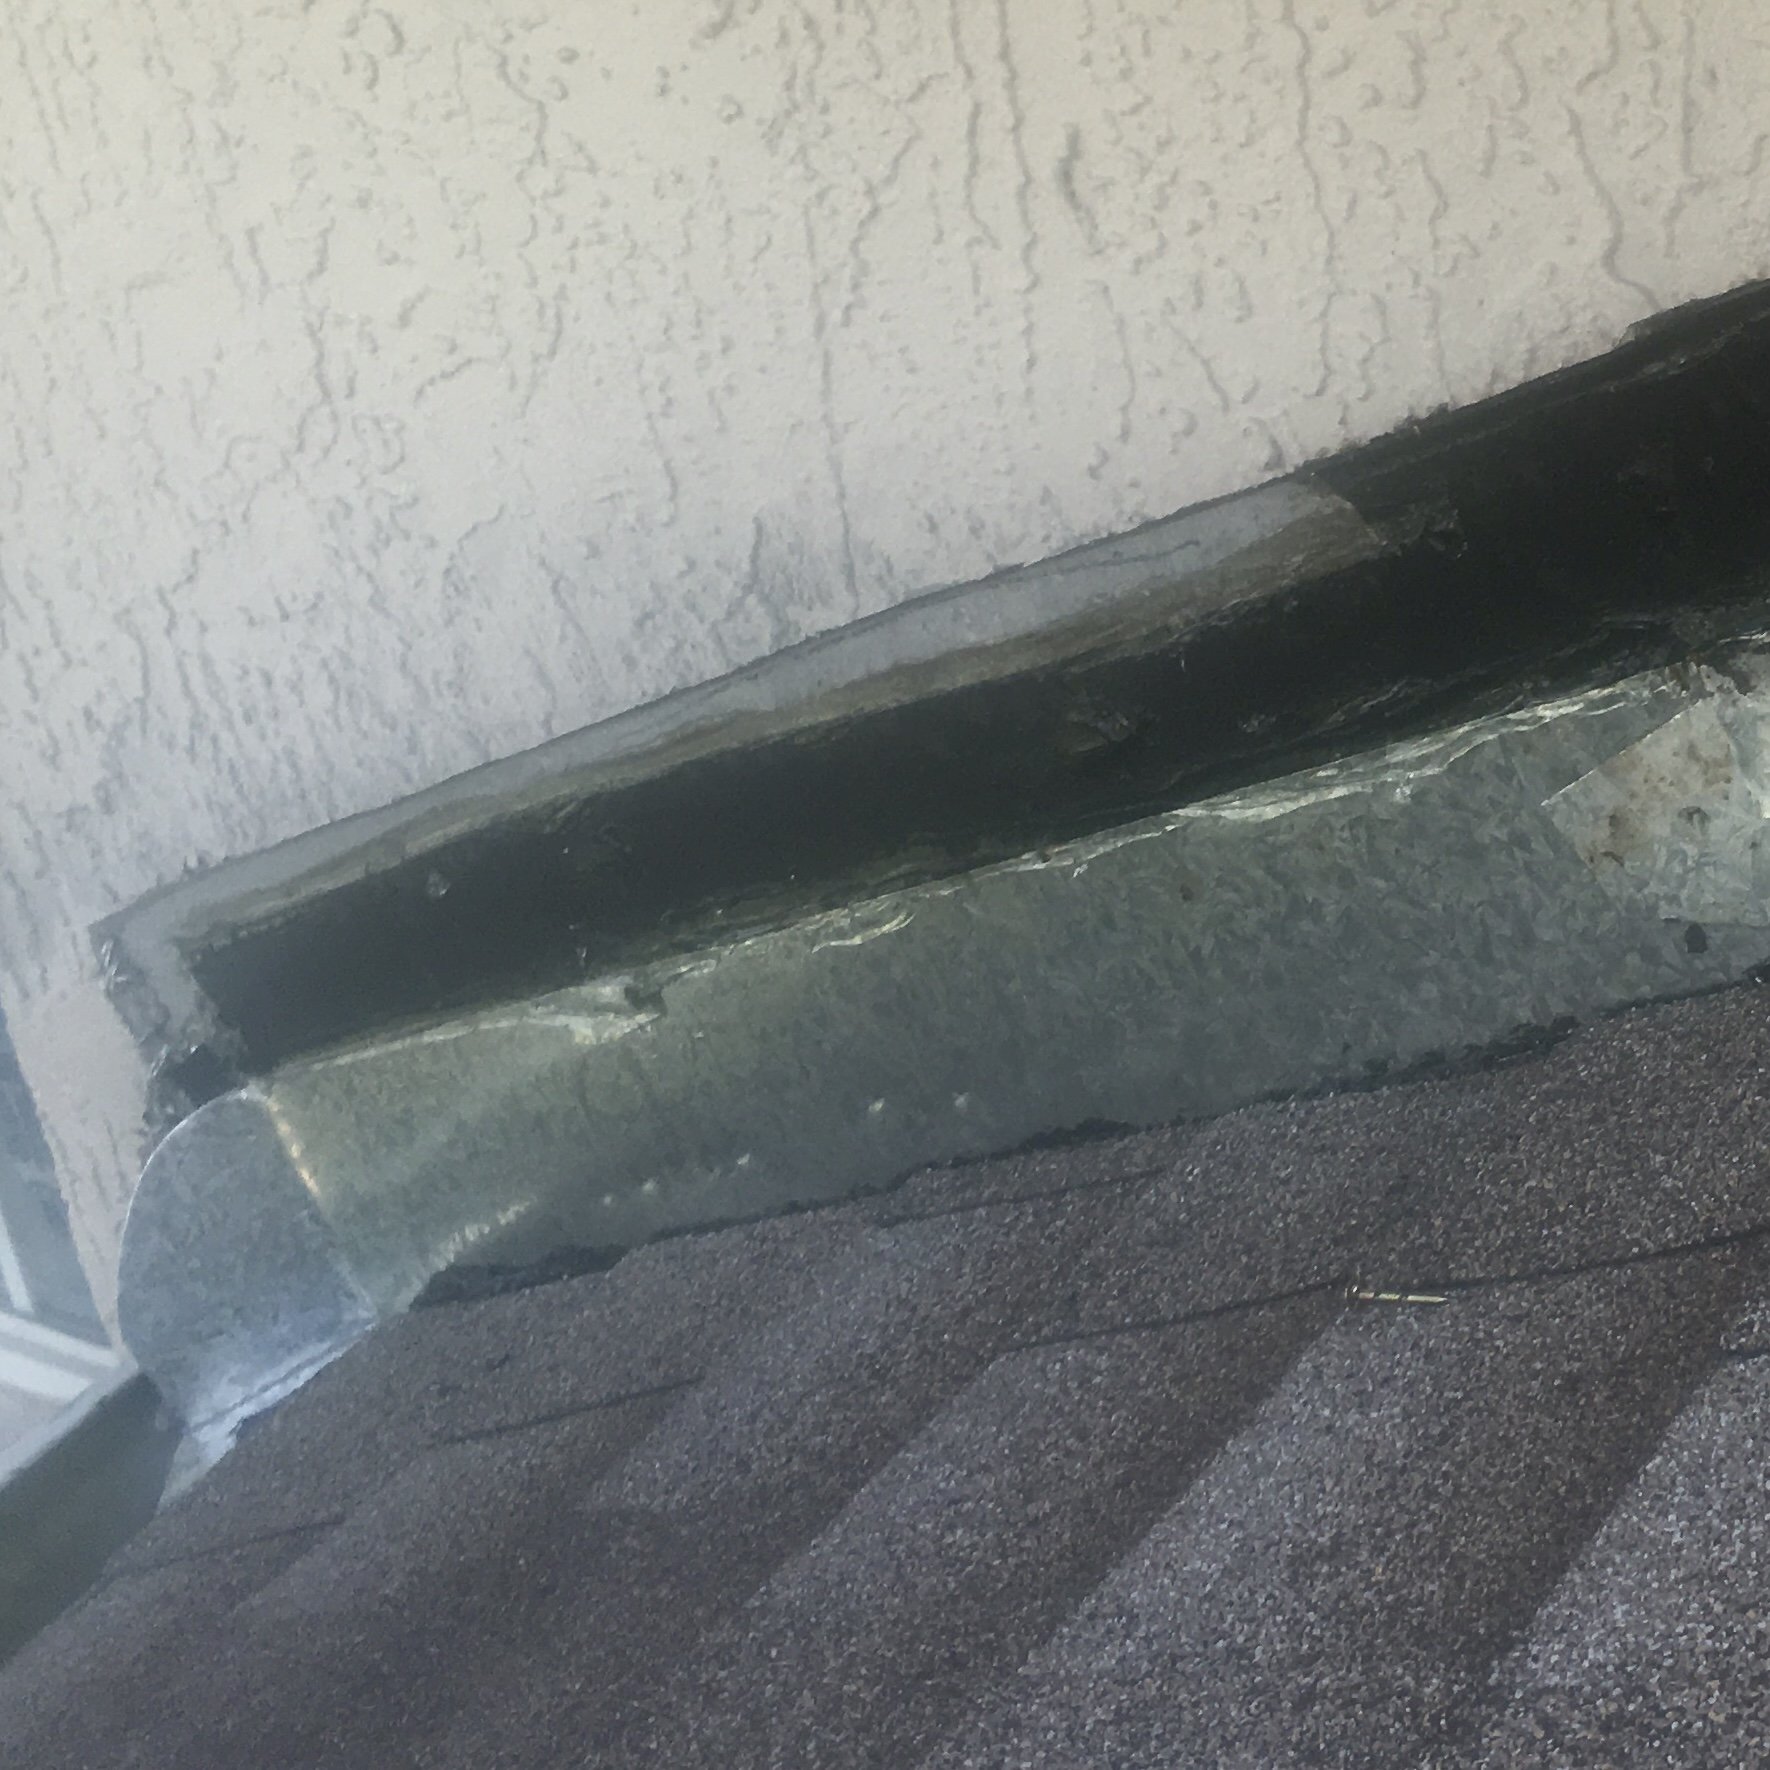
Eave/Valley Repair
Some of the shingles in a small area on this home failed to adhere properly to the drip-edge and after time caused a small area of sheathing to deteriorate. We removed the shingles and underlayment in this area, replaced the rotten sheathing, installed new self-adhered underlayment and tied in new shingles with the existing resulting in a satisfied homeowner.